How It Works
The export bundle carries only snippet content, not embeddings. Embeddings are tied to a specific embedding model, so they aren’t portable between deployments. When you import, your on-premise install re-embeds the snippets with its own configured embedding provider. This means imported libraries match the rest of your index and stay fully searchable, with nothing but text crossing the airgap.Before You Start
- An offline on-premise license. The export page is only visible to accounts that hold one.
- Your on-premise AI provider is configured (Settings → completed setup wizard). Import re-embeds snippets, so it needs a working embedding provider.
Exporting from Context7 Cloud
Open the export page
In the Context7 Cloud dashboard, open More → Export Libraries. The link only appears for accounts with an offline license.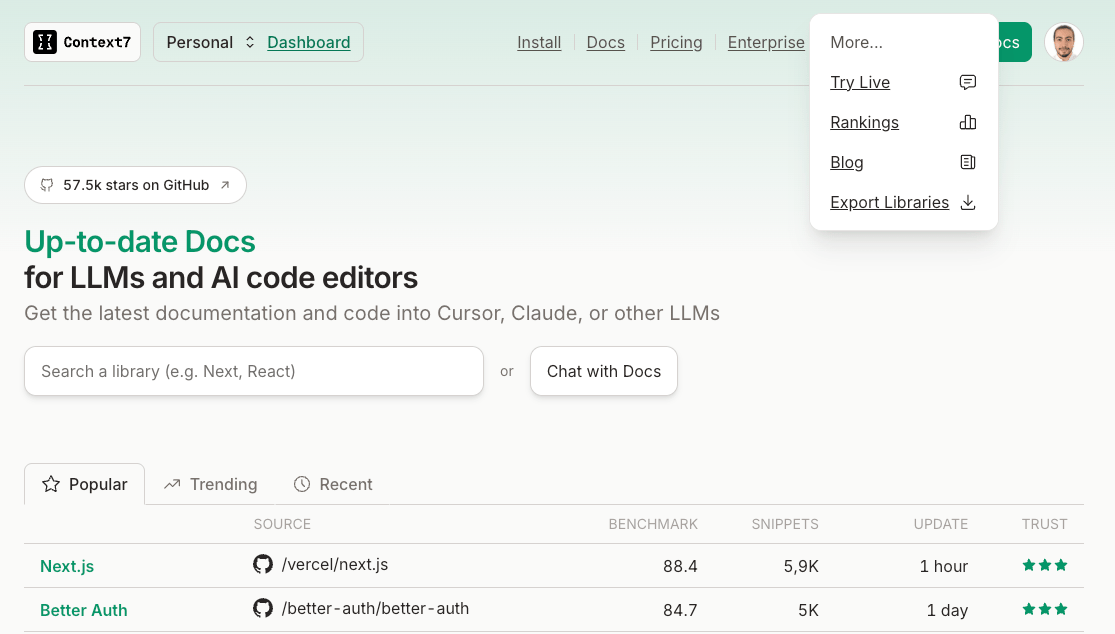
Select libraries
Search for libraries by name and click Add to put them in your selection. The selection persists while you keep searching, so you can collect libraries from several searches before downloading. Remove a library from the selection with the x on its chip.You can export up to 50 libraries at once.
Importing on Your On-Premise Install
Transfer the file
Move
context7-libraries.zip into your airgapped environment using whatever method your security policy allows.Open the import page
In your on-premise dashboard, click Add Repo, then choose the Context7 Export source. This source only appears on offline-license installs.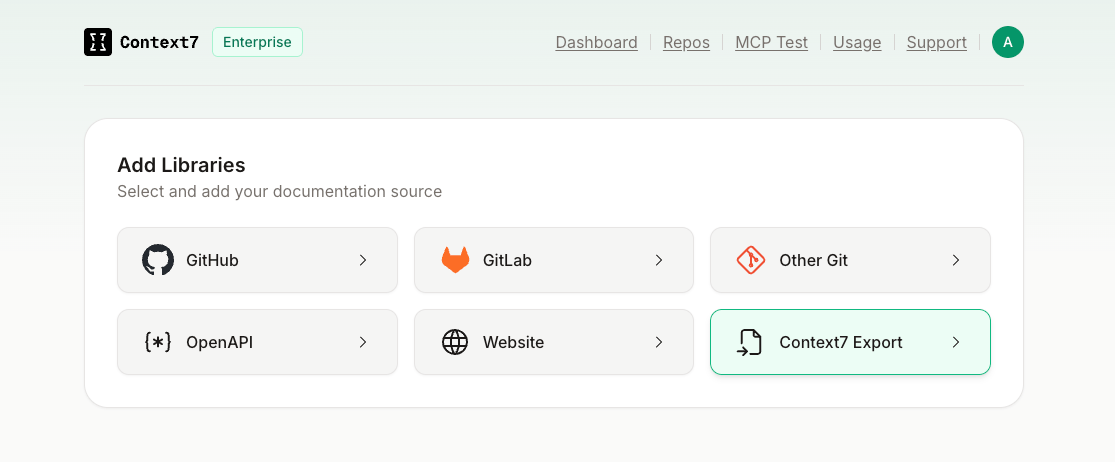
After Import
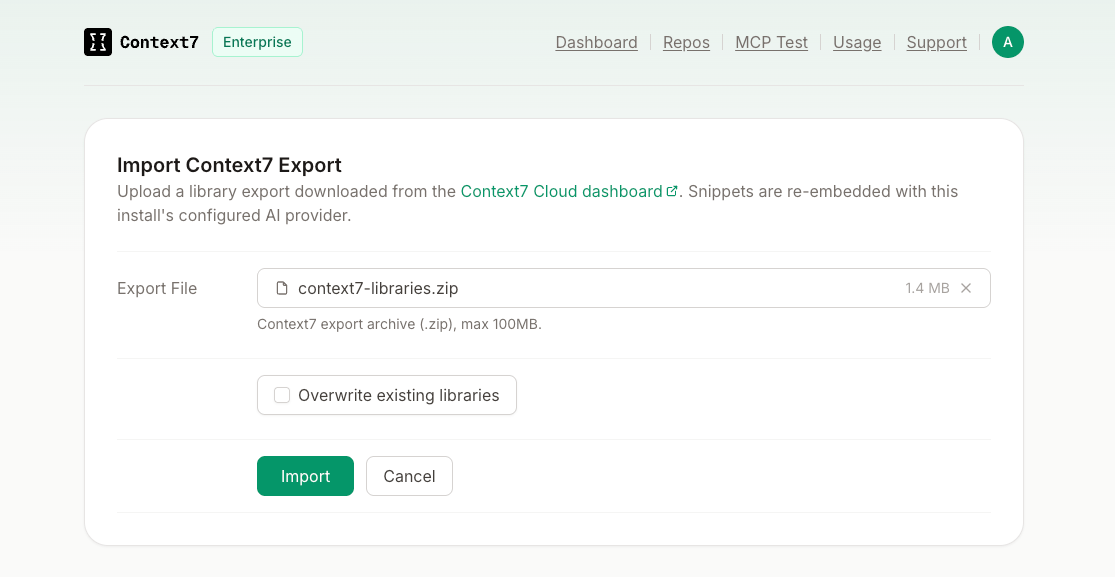
Imported libraries appear in your Repositories list with an Imported badge and are queryable like any other library.Re-importing a library you already have does nothing unless Overwrite existing libraries is checked. The import skips libraries that already exist and tells you which ones it skipped.
Limits
- Up to 50 libraries per export.
- Export files up to 100 MB per import.
- Only public libraries indexed by Context7 Cloud can be exported.