Before you start
You’ll need:- An Entra admin (or someone who can register applications in your tenant).
- A running Context7 On-Premise instance that you can reach in your browser.
- The Context7 admin password. This is the same account you use to open Teamspace Settings today. On a fresh install it is
admin/adminuntil you change it.
Entra SSO is an addition to password login, not a replacement. The seeded admin account keeps working even after you turn on SSO, so you never get locked out if the Entra app goes sideways.
Part 1: Register the application in Microsoft Entra
Step 1: Create a new app registration
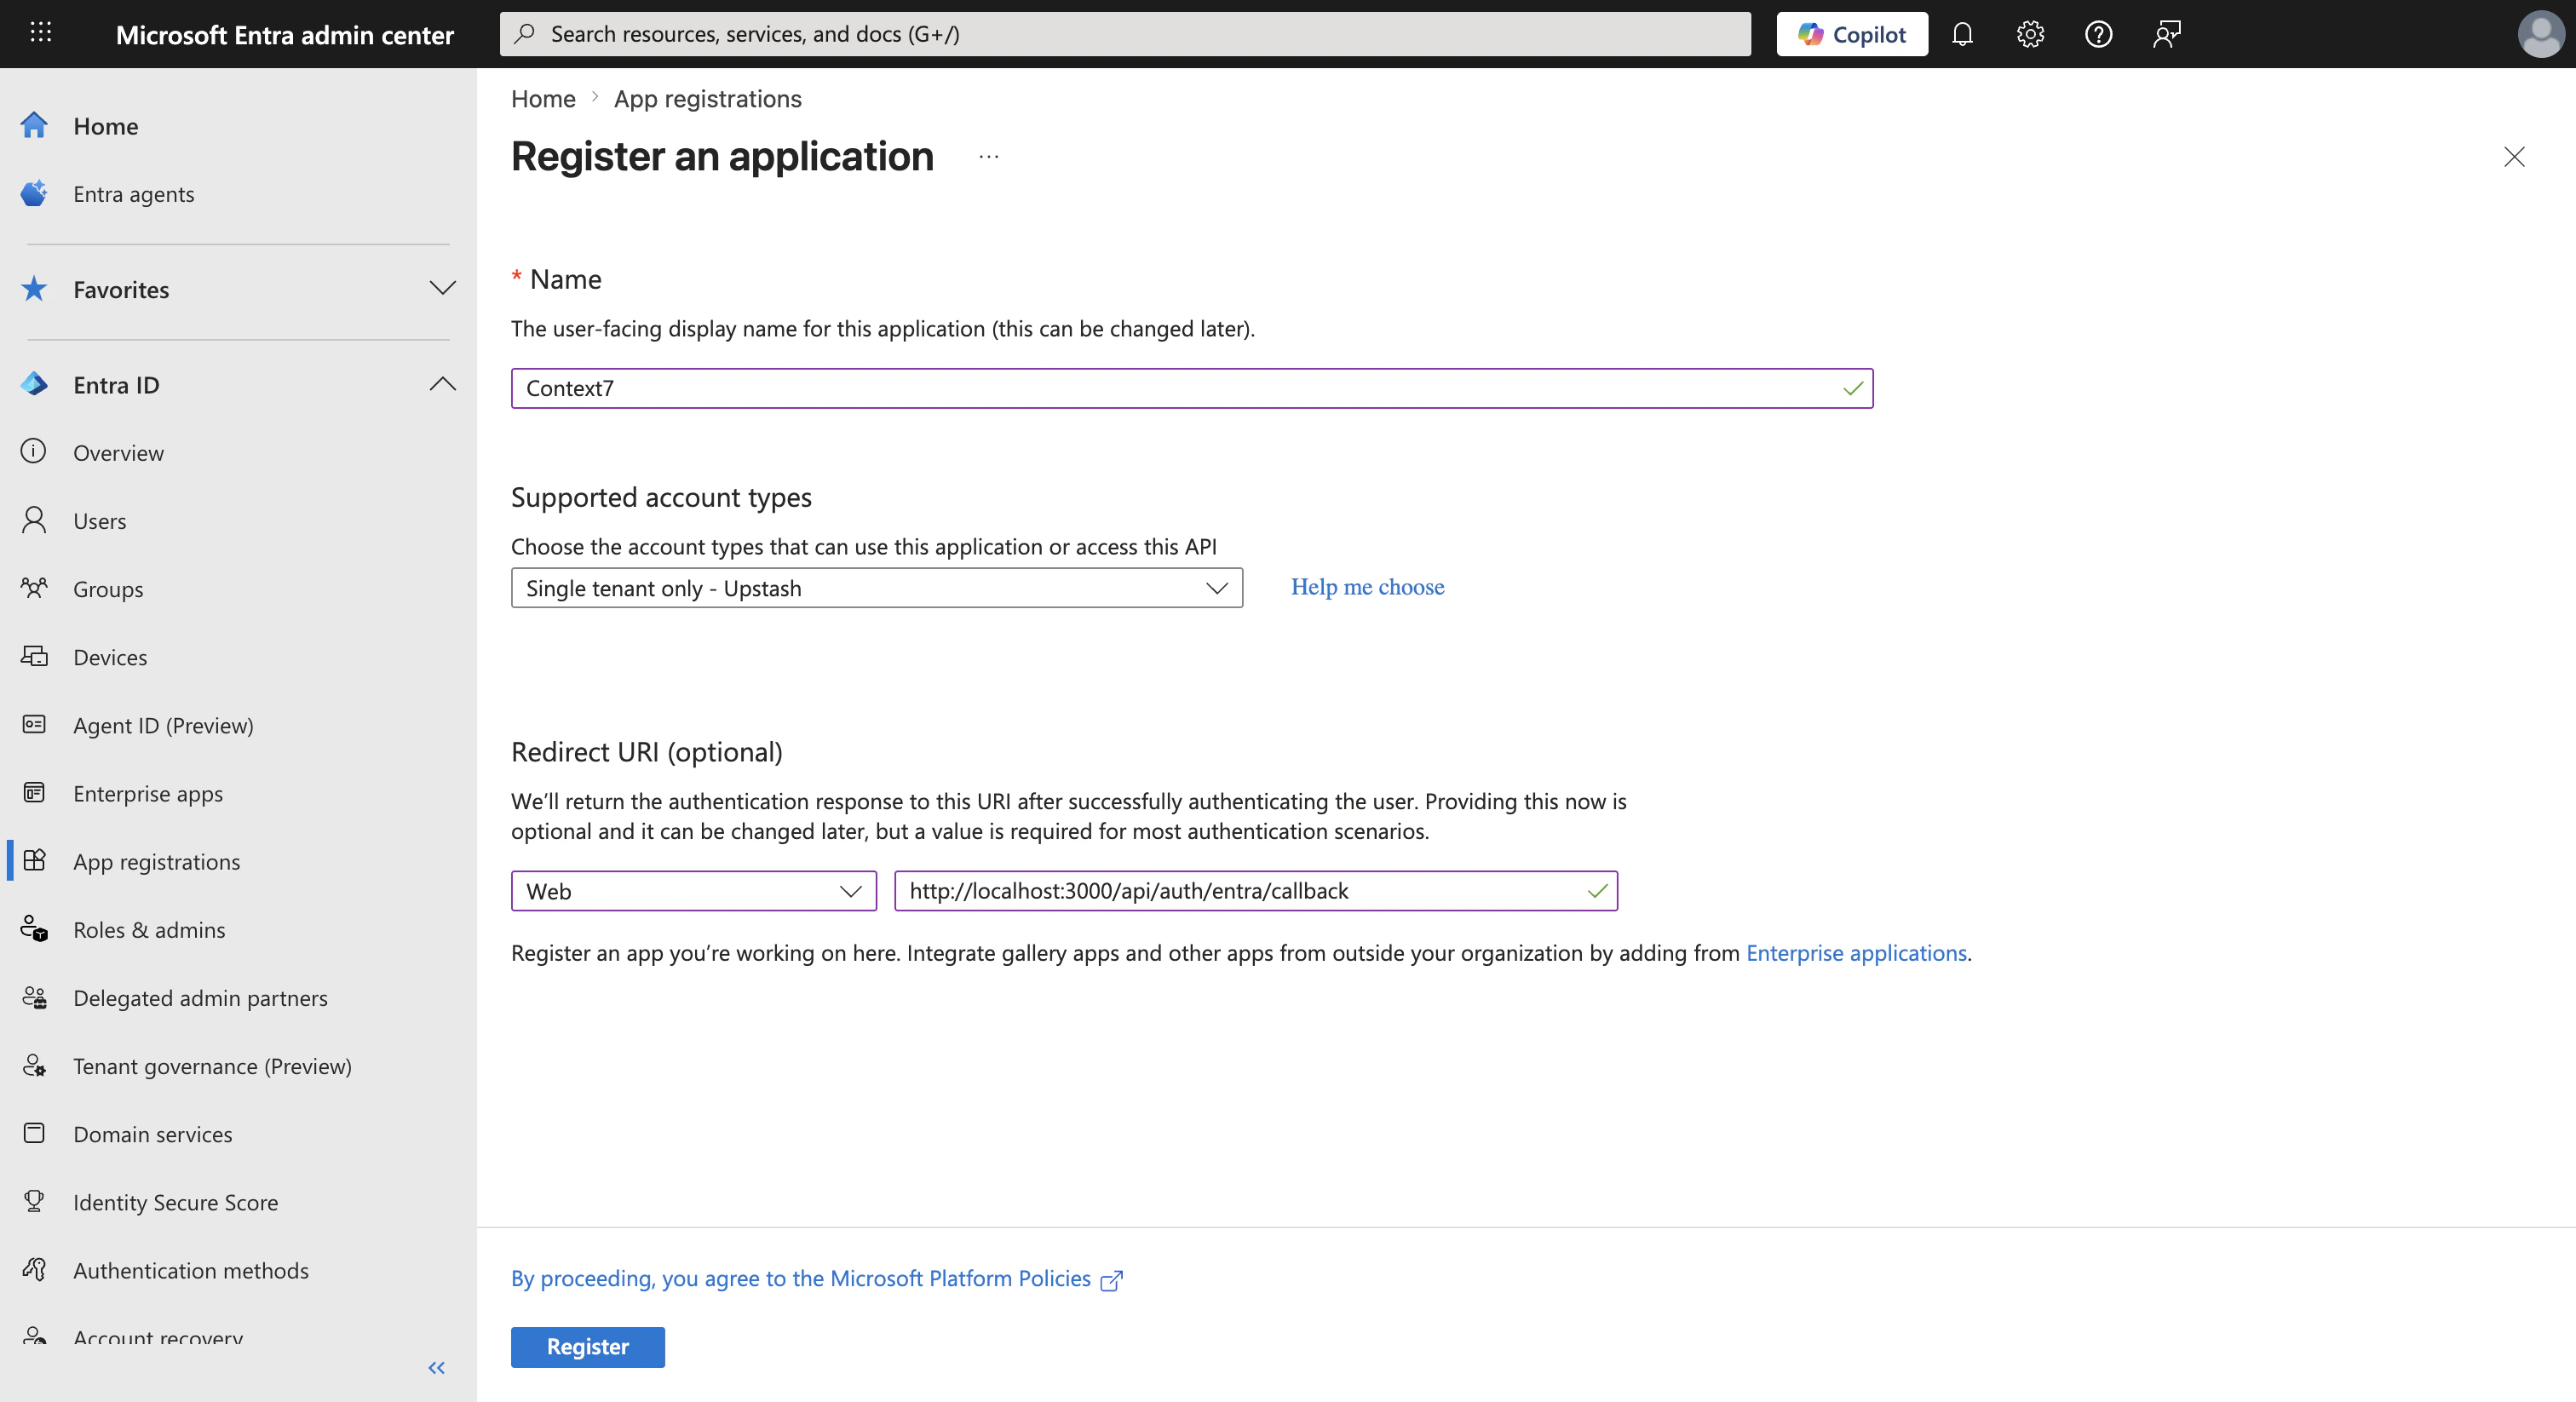
In the Azure portal, open Microsoft Entra ID from the left sidebar. Expand Manage and click App registrations, then + New registration. Fill in the form:- Name:
Context7(anything memorable, your users won’t see it) - Supported account types: Accounts in this organizational directory only
- Redirect URI: pick Web from the dropdown and enter
https://<your-context7-host>/api/auth/entra/callback. For a local test deployment that’s usuallyhttp://localhost:3000/api/auth/entra/callback.
Step 2: Copy the Application (client) ID and Directory (tenant) ID
After registering, you land on the app’s Overview page. Two values matter here:- Application (client) ID
- Directory (tenant) ID
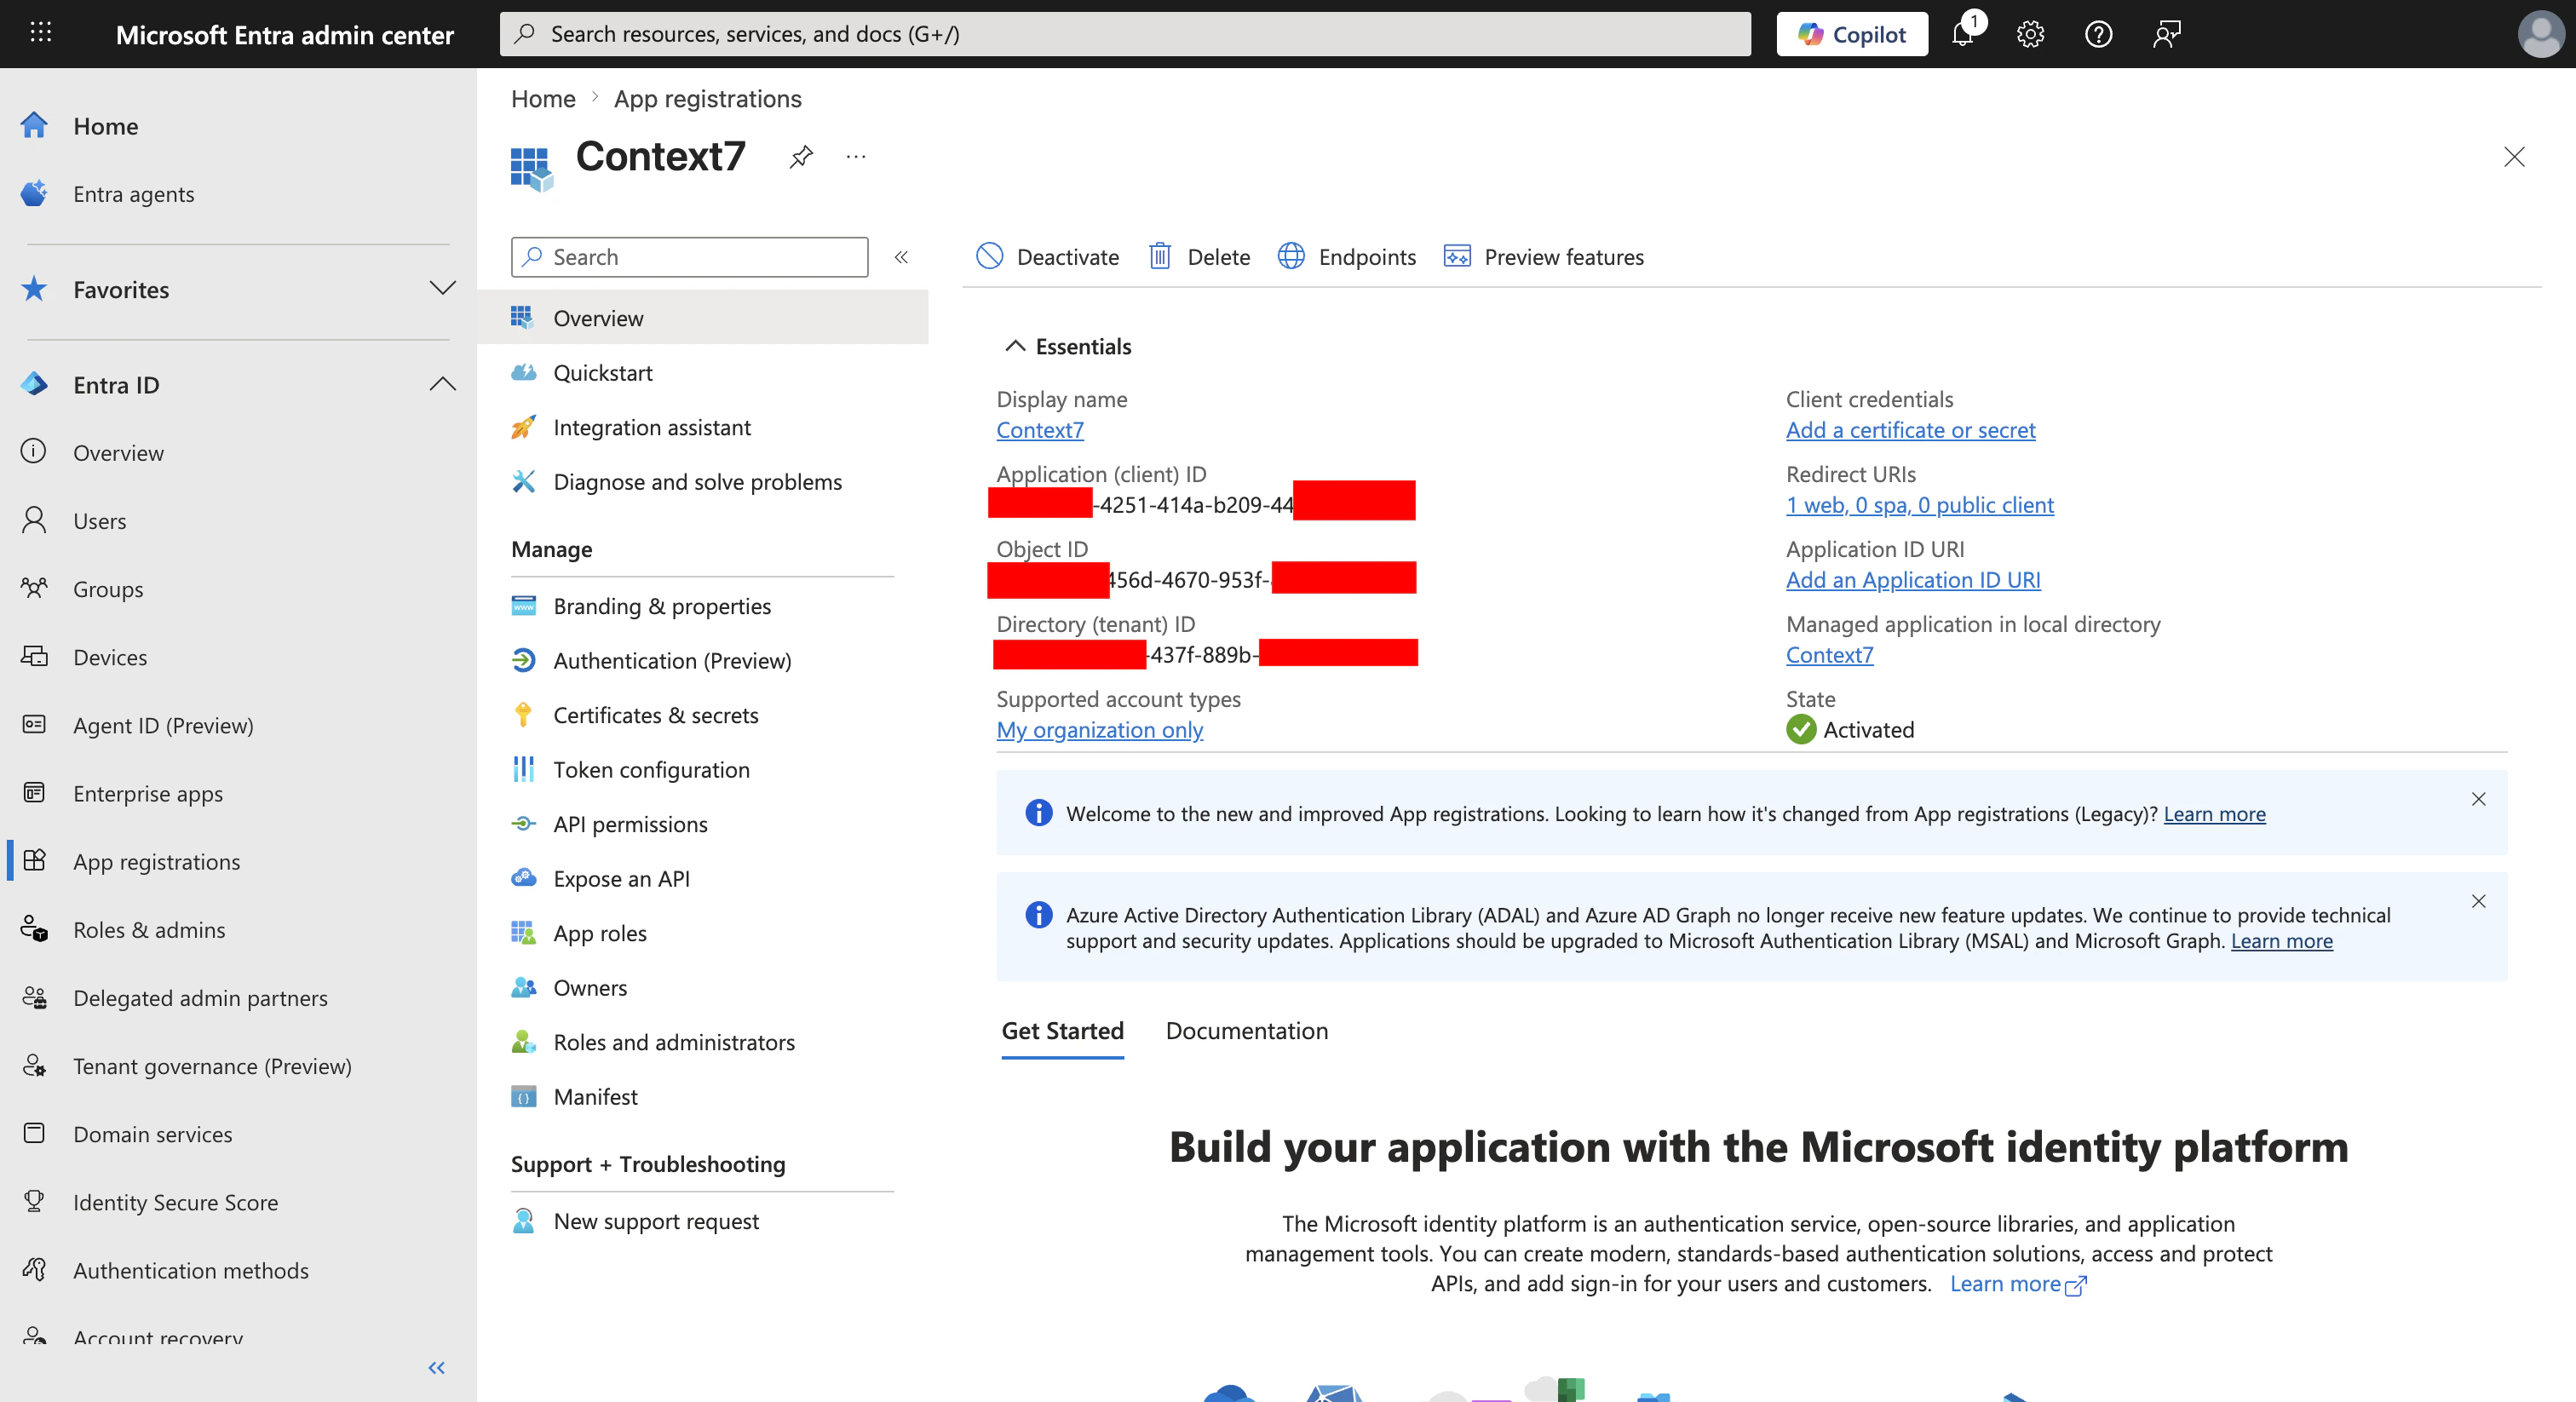
These aren’t secrets. The client ID is public information that’s sent in every sign-in request; the tenant ID identifies your Entra directory. It’s still good hygiene to treat them like configuration values rather than pasting them into public places.
Step 3: Create a client secret
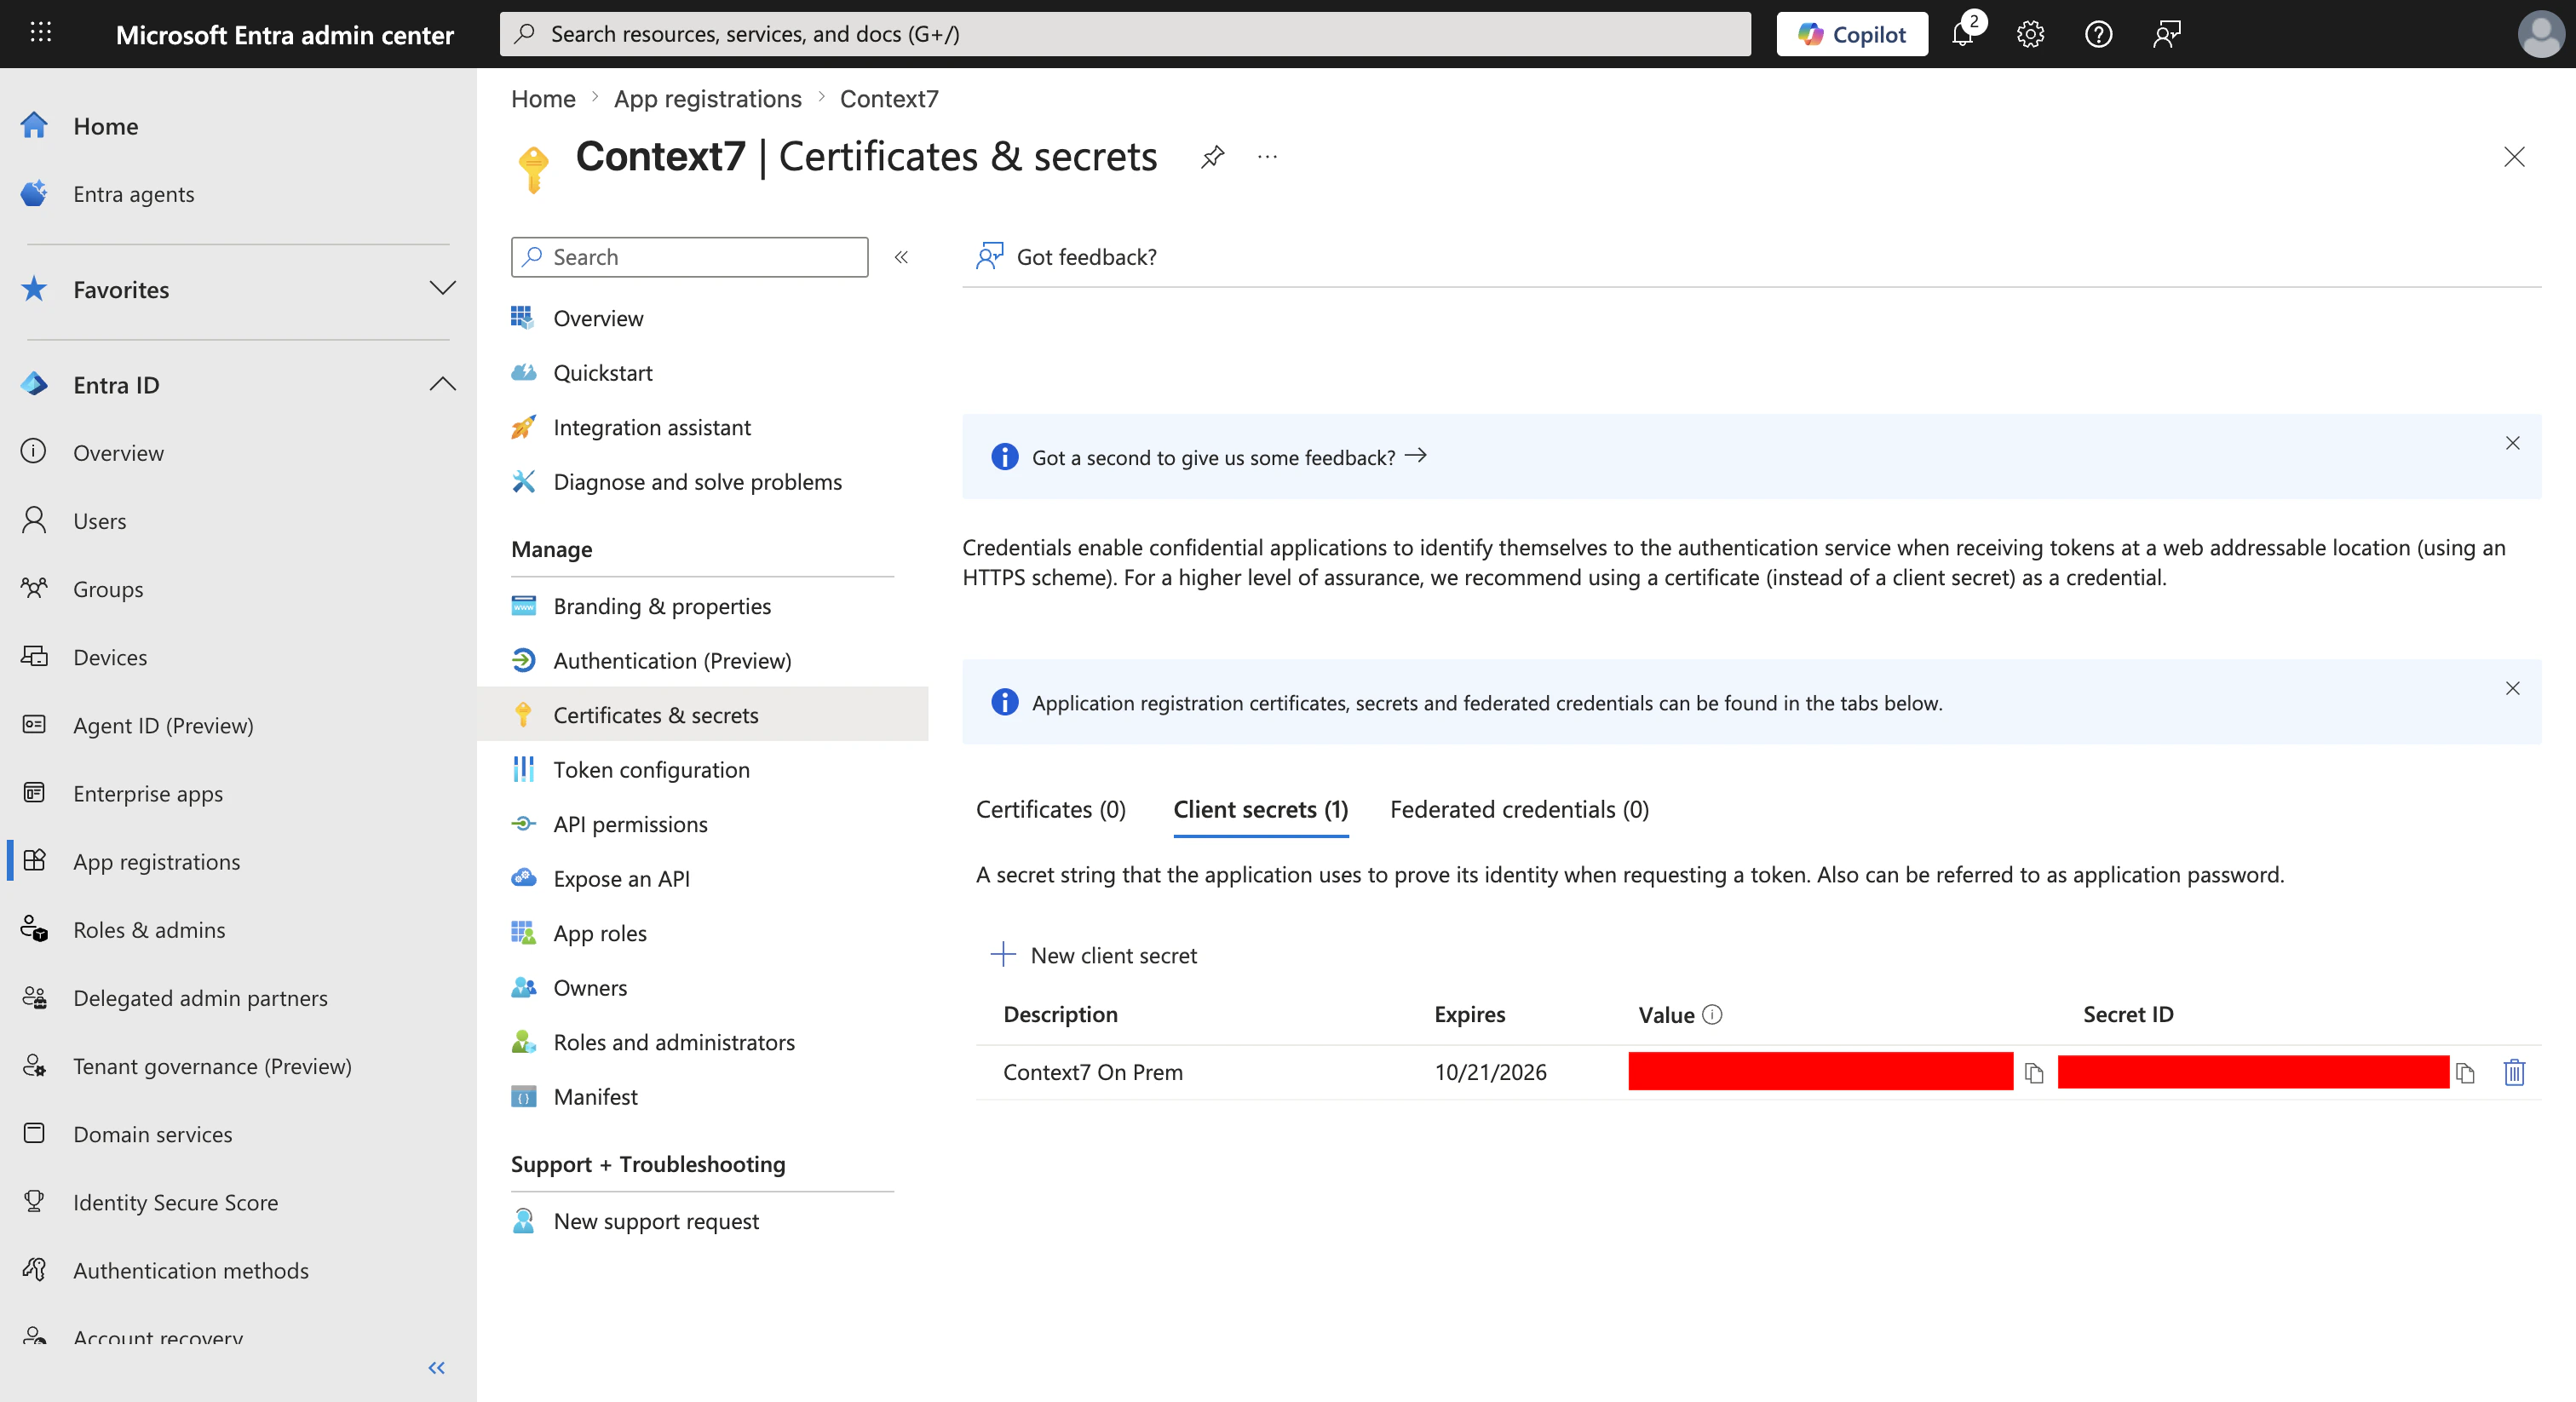
From the app’s left sidebar, open Certificates & secrets, stay on the Client secrets tab, then click + New client secret. Give it a description (for example,Context7 on-premise), pick an expiry (180 days or 12 months are common), and click Add.
Step 4: Define the two app roles
Context7 maps Entra app roles to its own admin/member roles. You’ll create one of each in the Entra app. From the left sidebar, click App roles, then + Create app role. Fill in the first role:- Display name:
Context7 Admin - Allowed member types: Users/Groups
- Value:
Context7.Admin - Description: anything descriptive, like “Full admin access to the Context7 teamspace”
- Leave Do you want to enable this app role? checked.
- Display name:
Context7 Member - Allowed member types: Users/Groups
- Value:
Context7.Member - Description: “Standard member access”
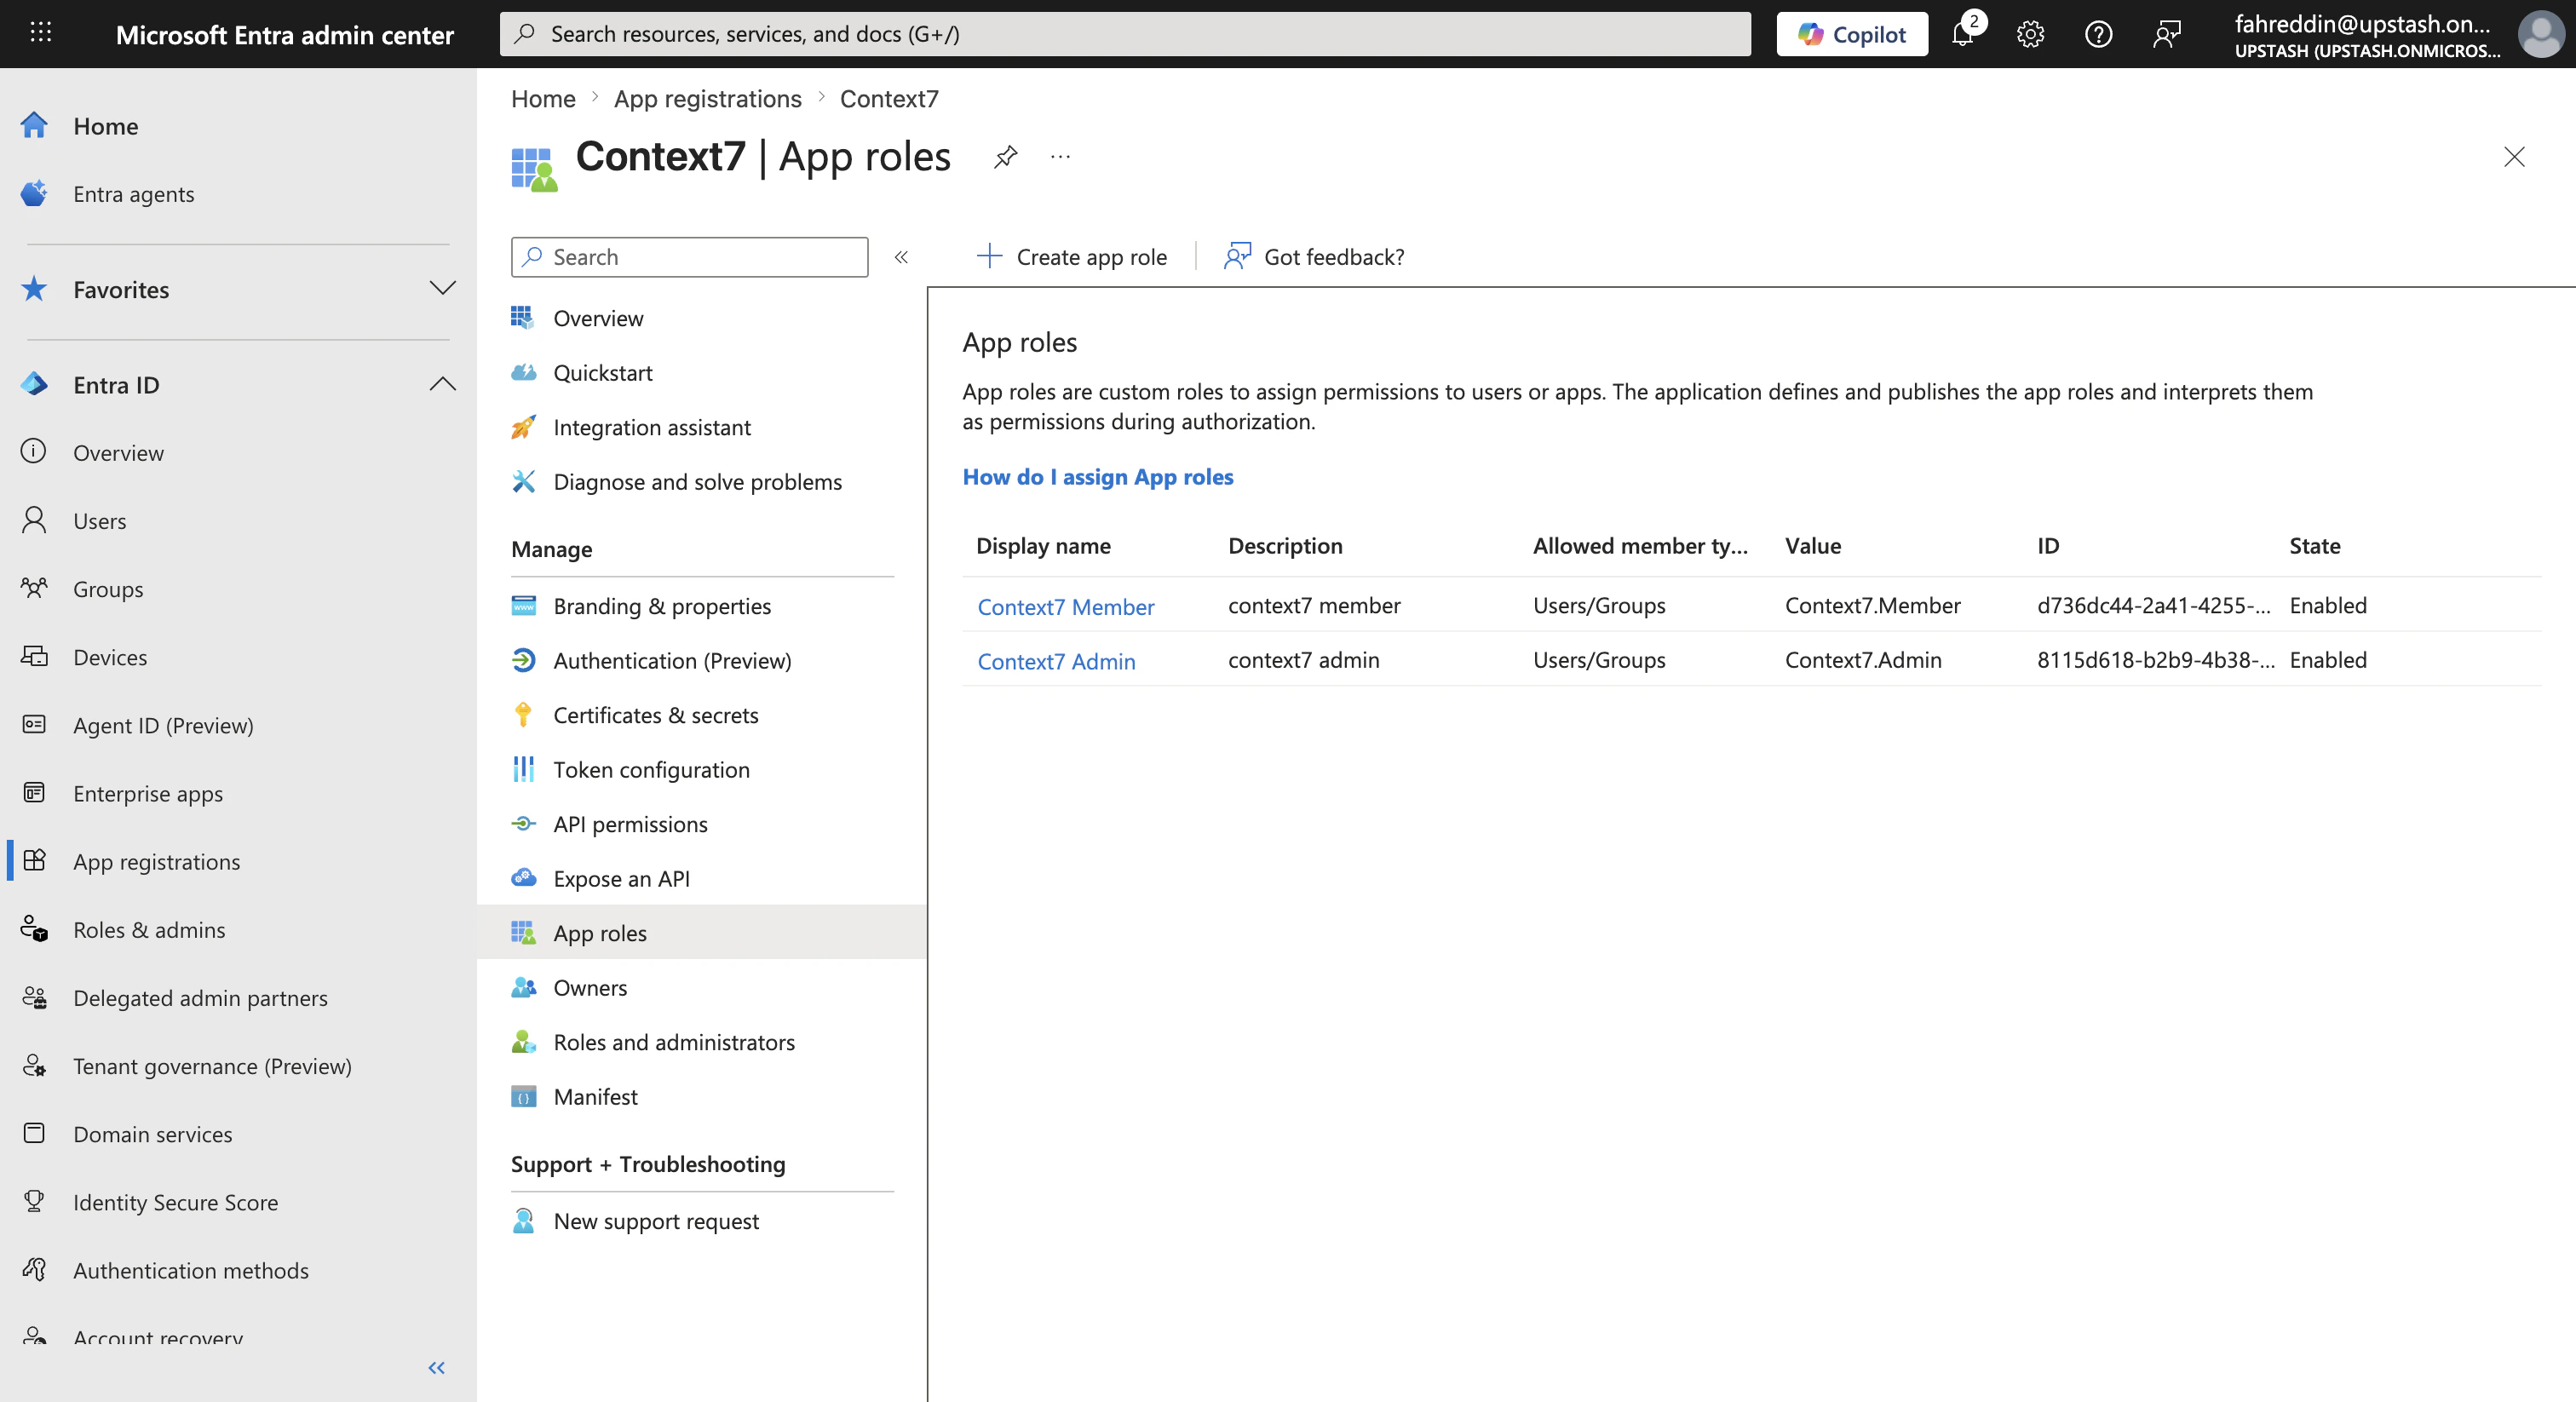
The Value column is what ends up in the sign-in token’s
roles claim. Context7 defaults to looking for Context7.Admin and Context7.Member, but if your organization has a naming convention (for example, CTX7_ADMIN), you can use those values instead. Just remember what you chose so you can enter the same strings in Context7 later.Step 5: Require assignment and assign users
By default, any user in your tenant can attempt to sign in to an Entra-registered app. You almost certainly want to restrict that to a known group of people. Go back to Microsoft Entra ID → Enterprise applications (a different section from App registrations, but the same app viewed differently). Find and click your Context7 app, open Properties, set Assignment required? to Yes, and Save.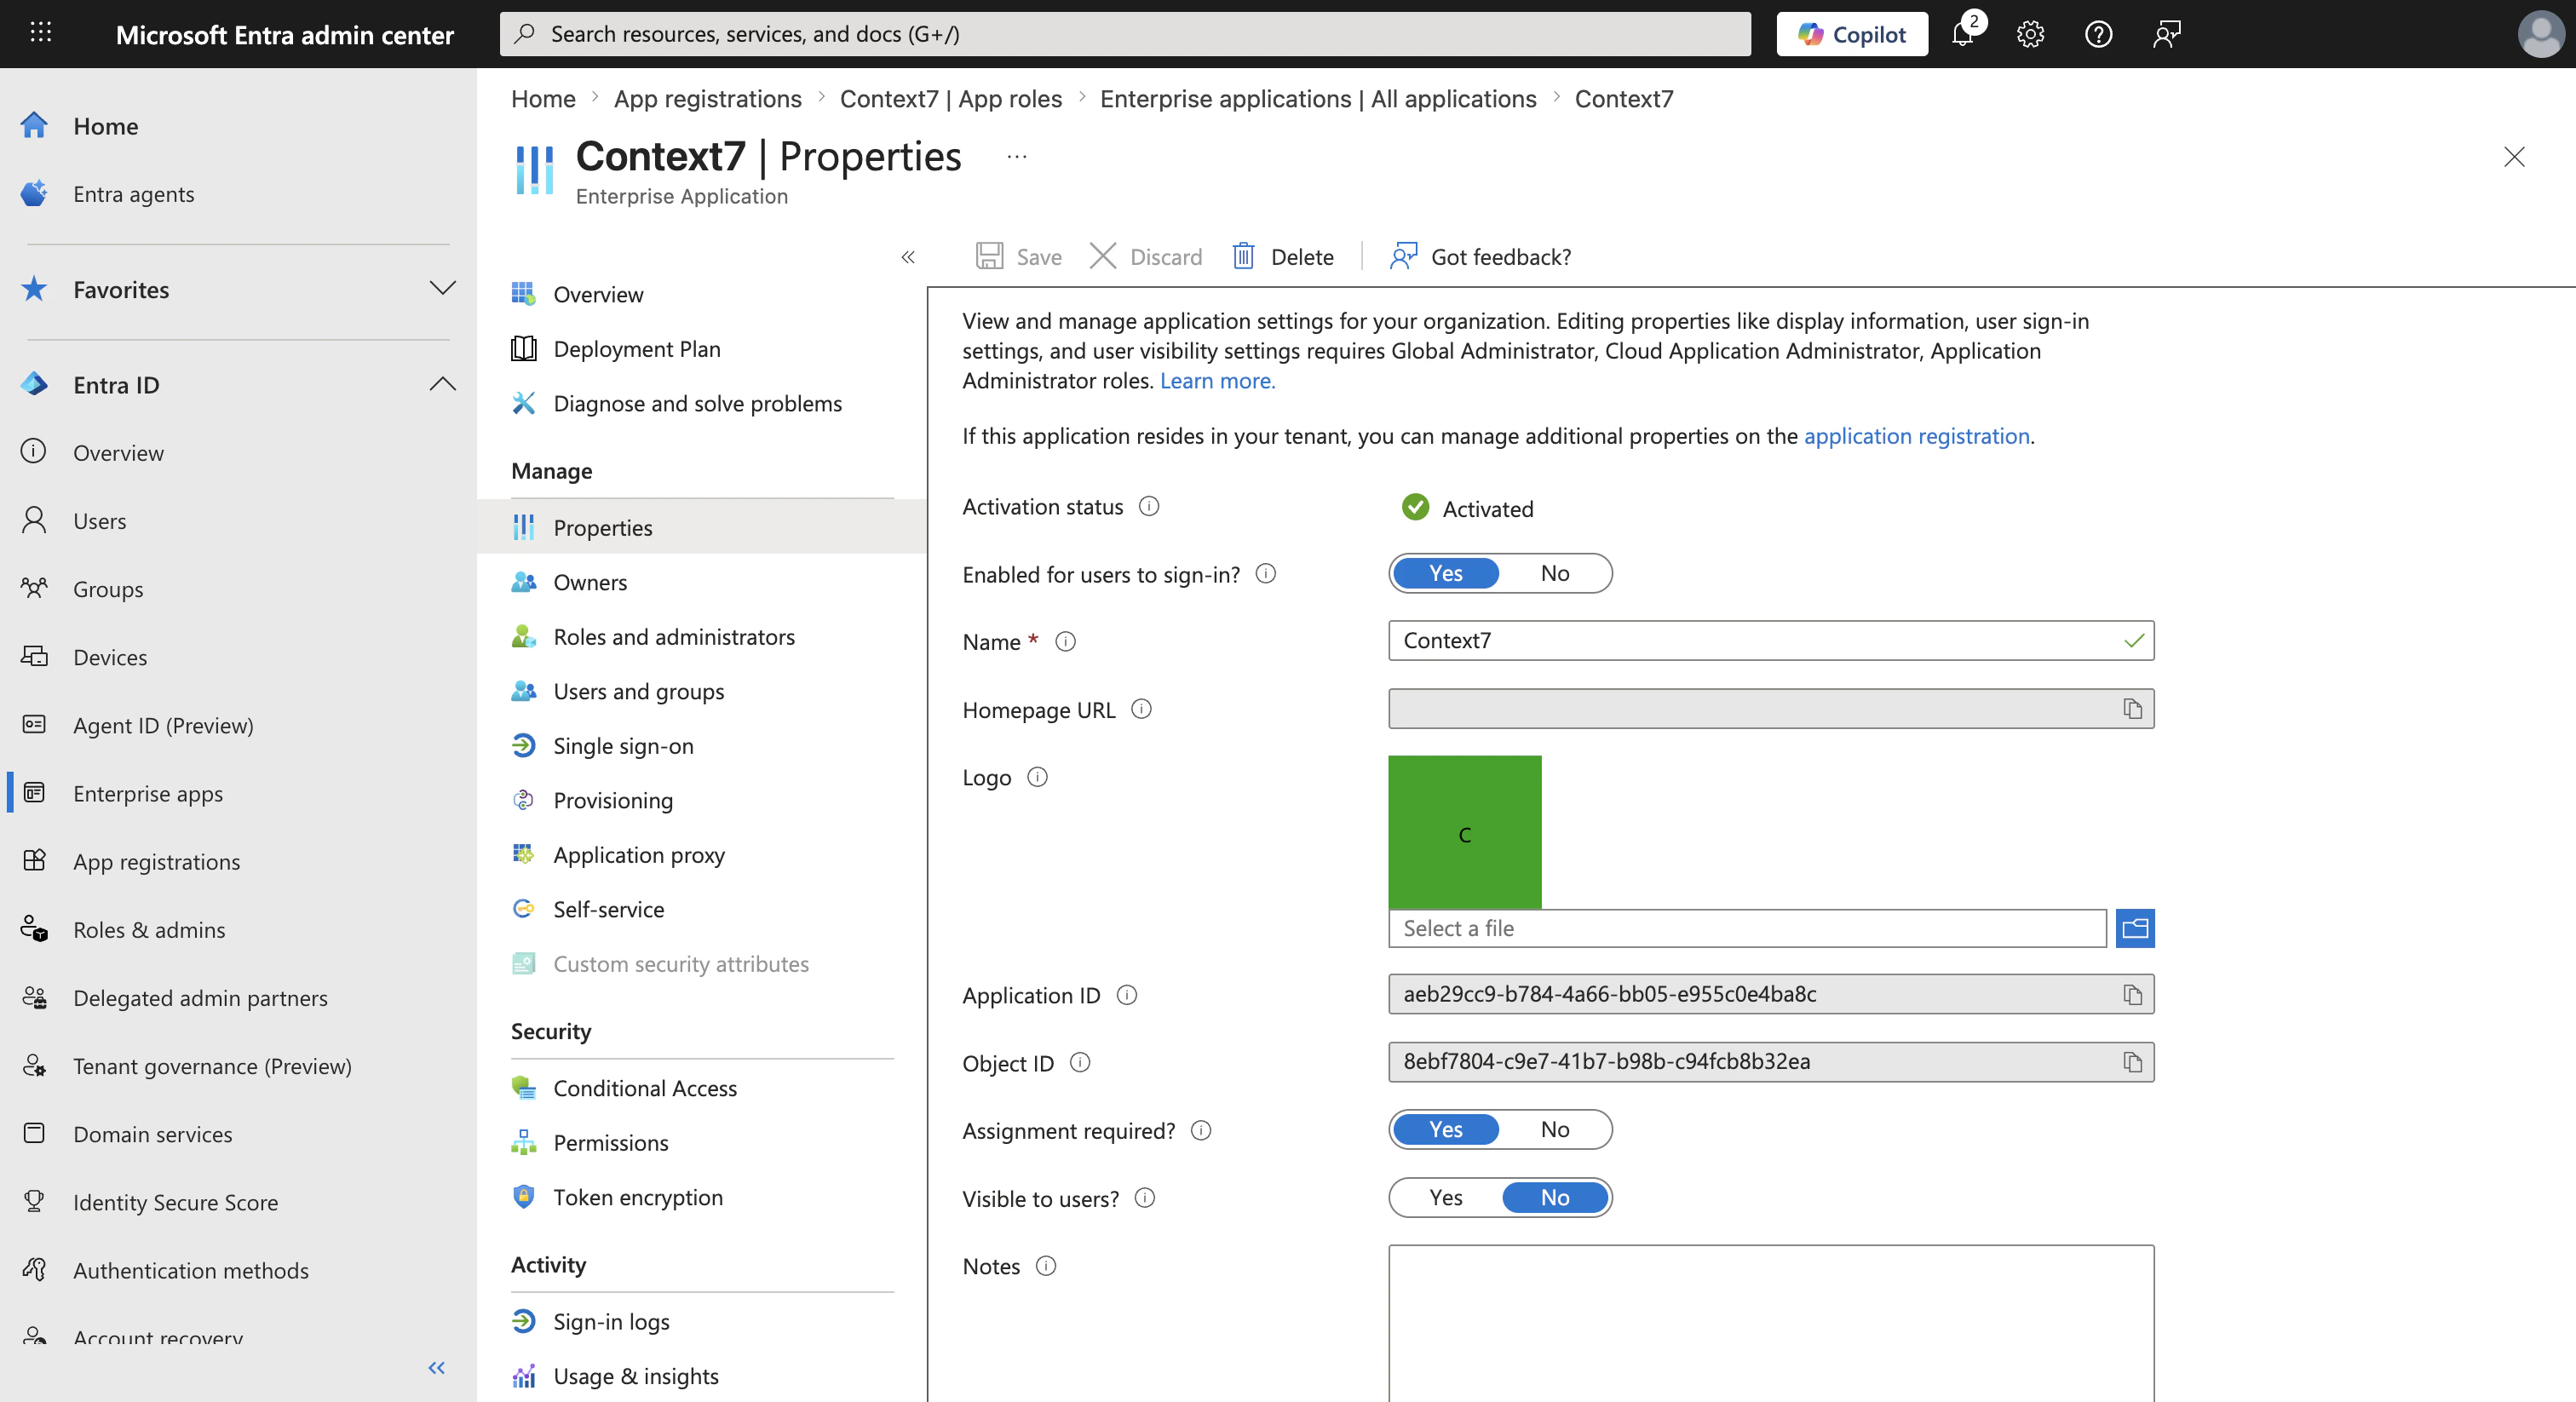
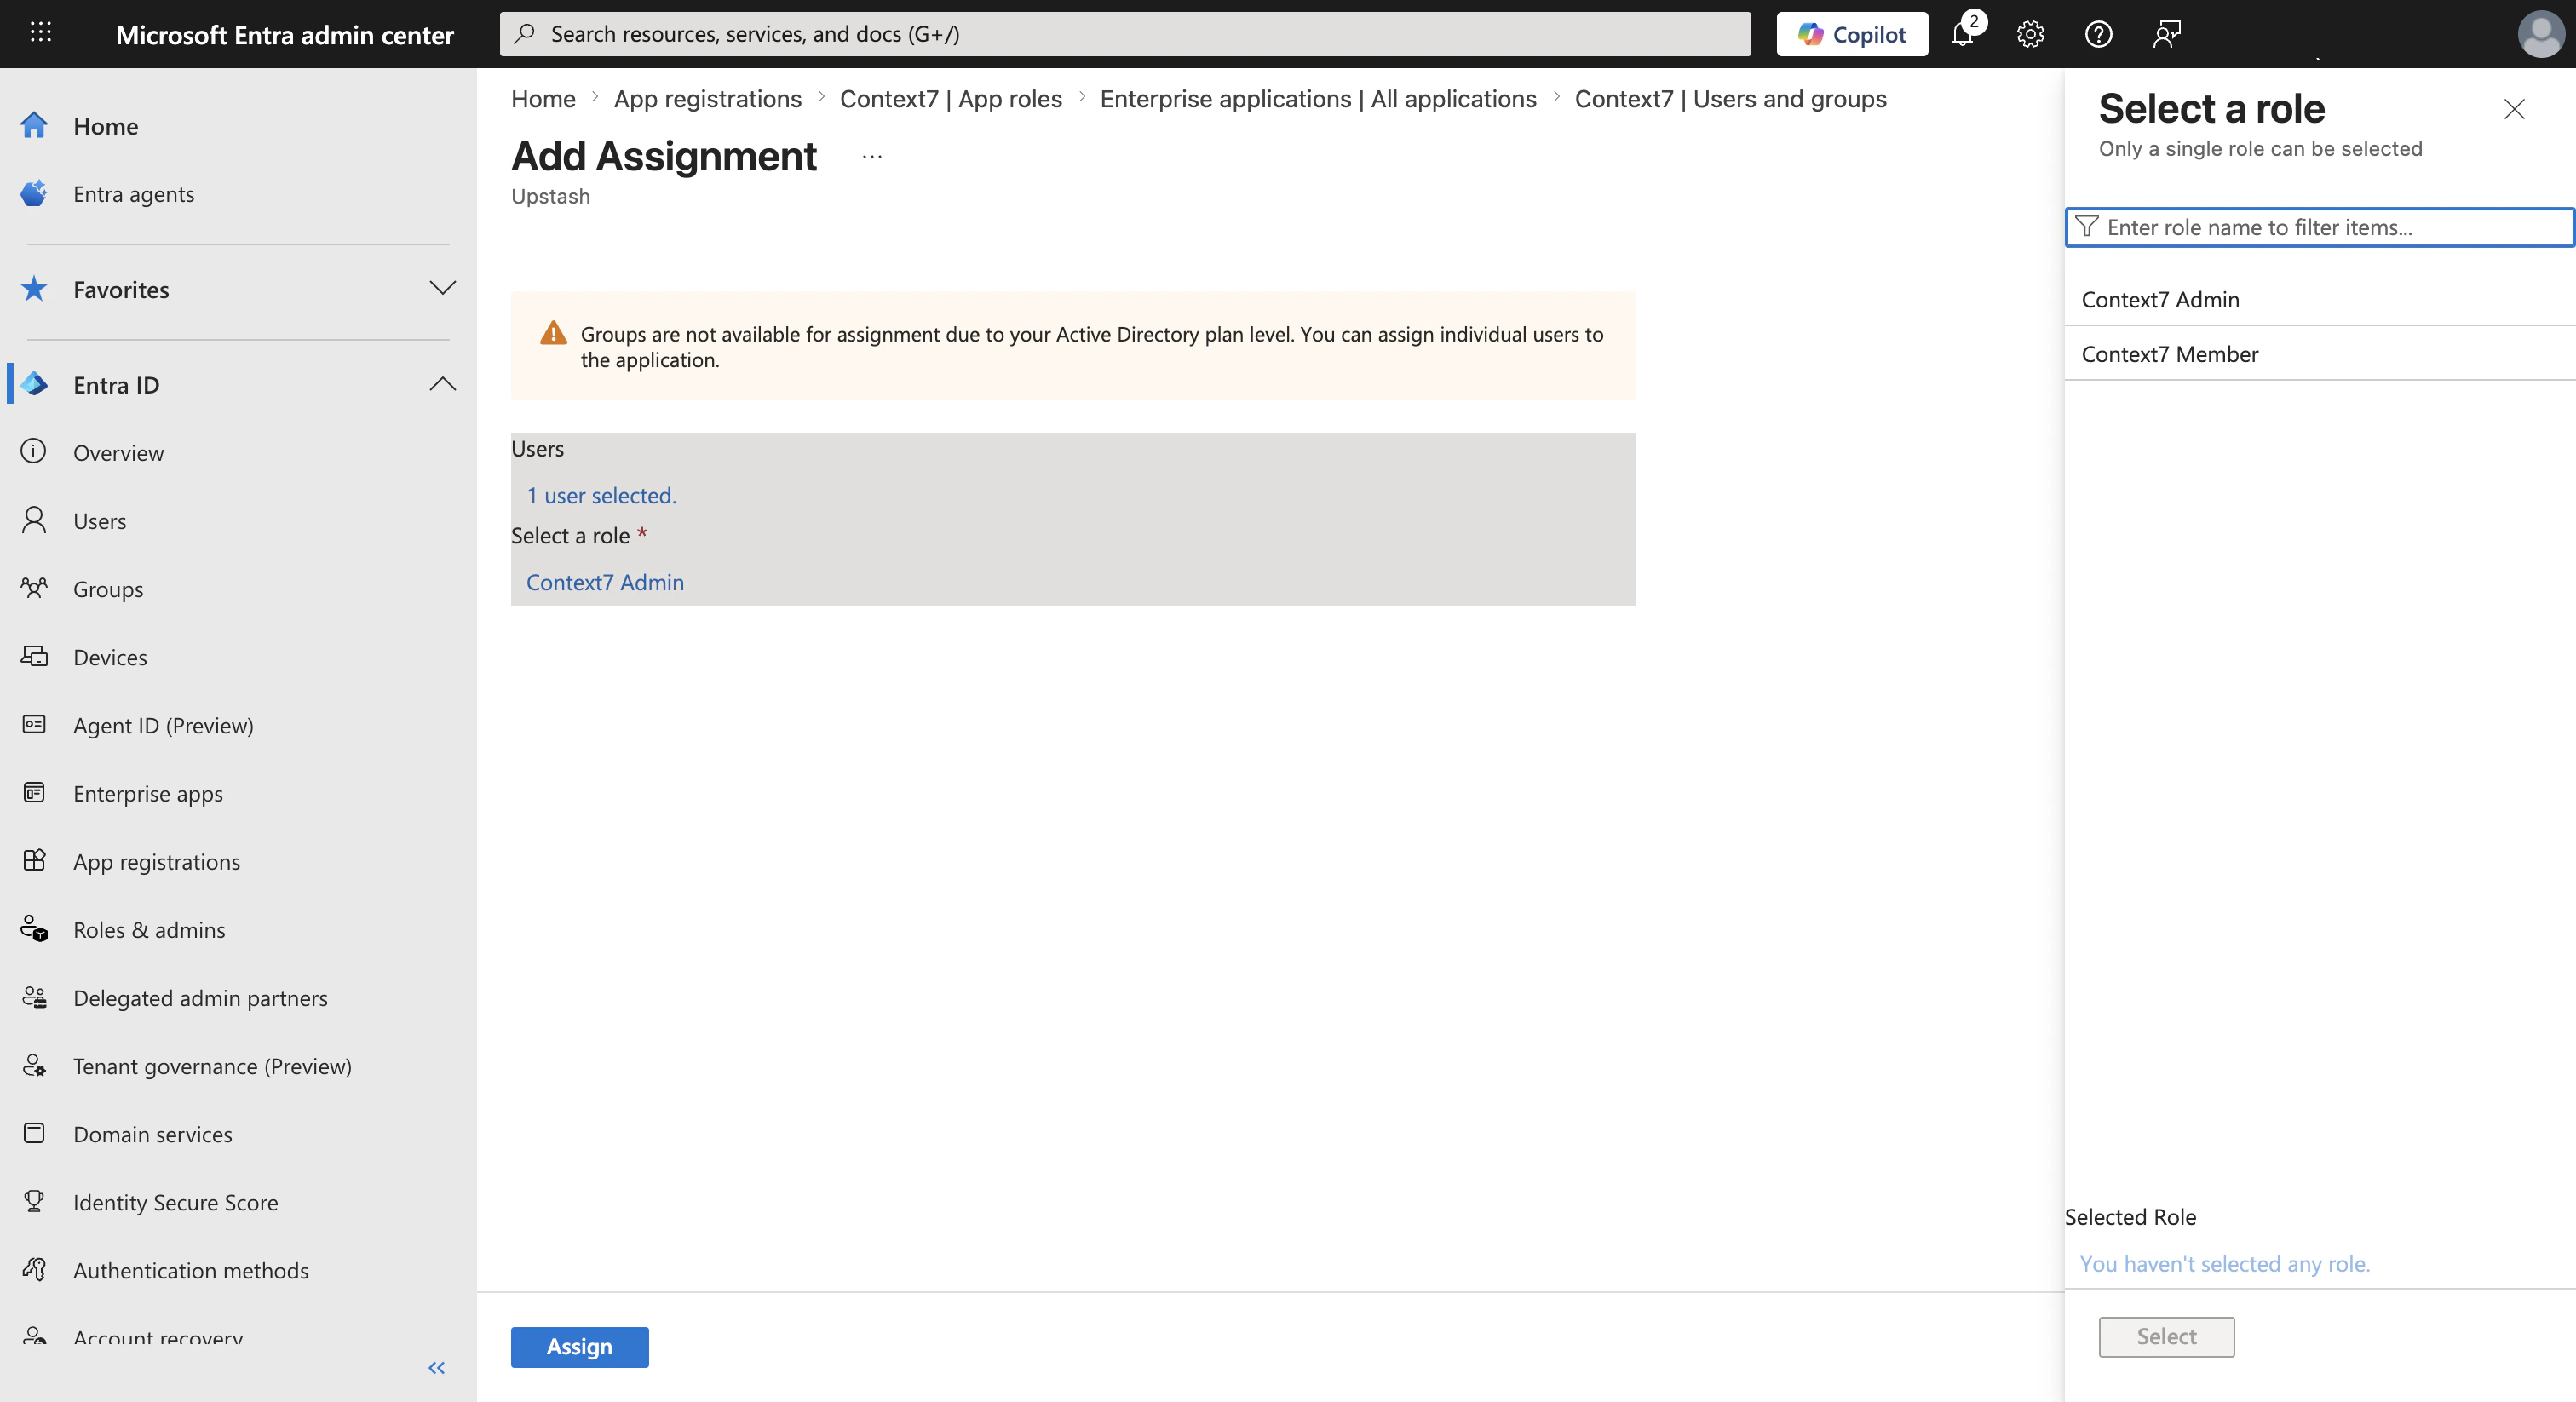
- Pick the user (or a group) under Users.
- Pick a role: Context7 Admin for teamspace administrators, Context7 Member for everyone else.
- Click Assign.
Part 2: Configure Context7
Step 1: Open the Entra SSO card
Sign in to your Context7 dashboard with the password admin account. Open Teamspace Settings, and under Authentication you’ll find a card titled Microsoft Entra SSO.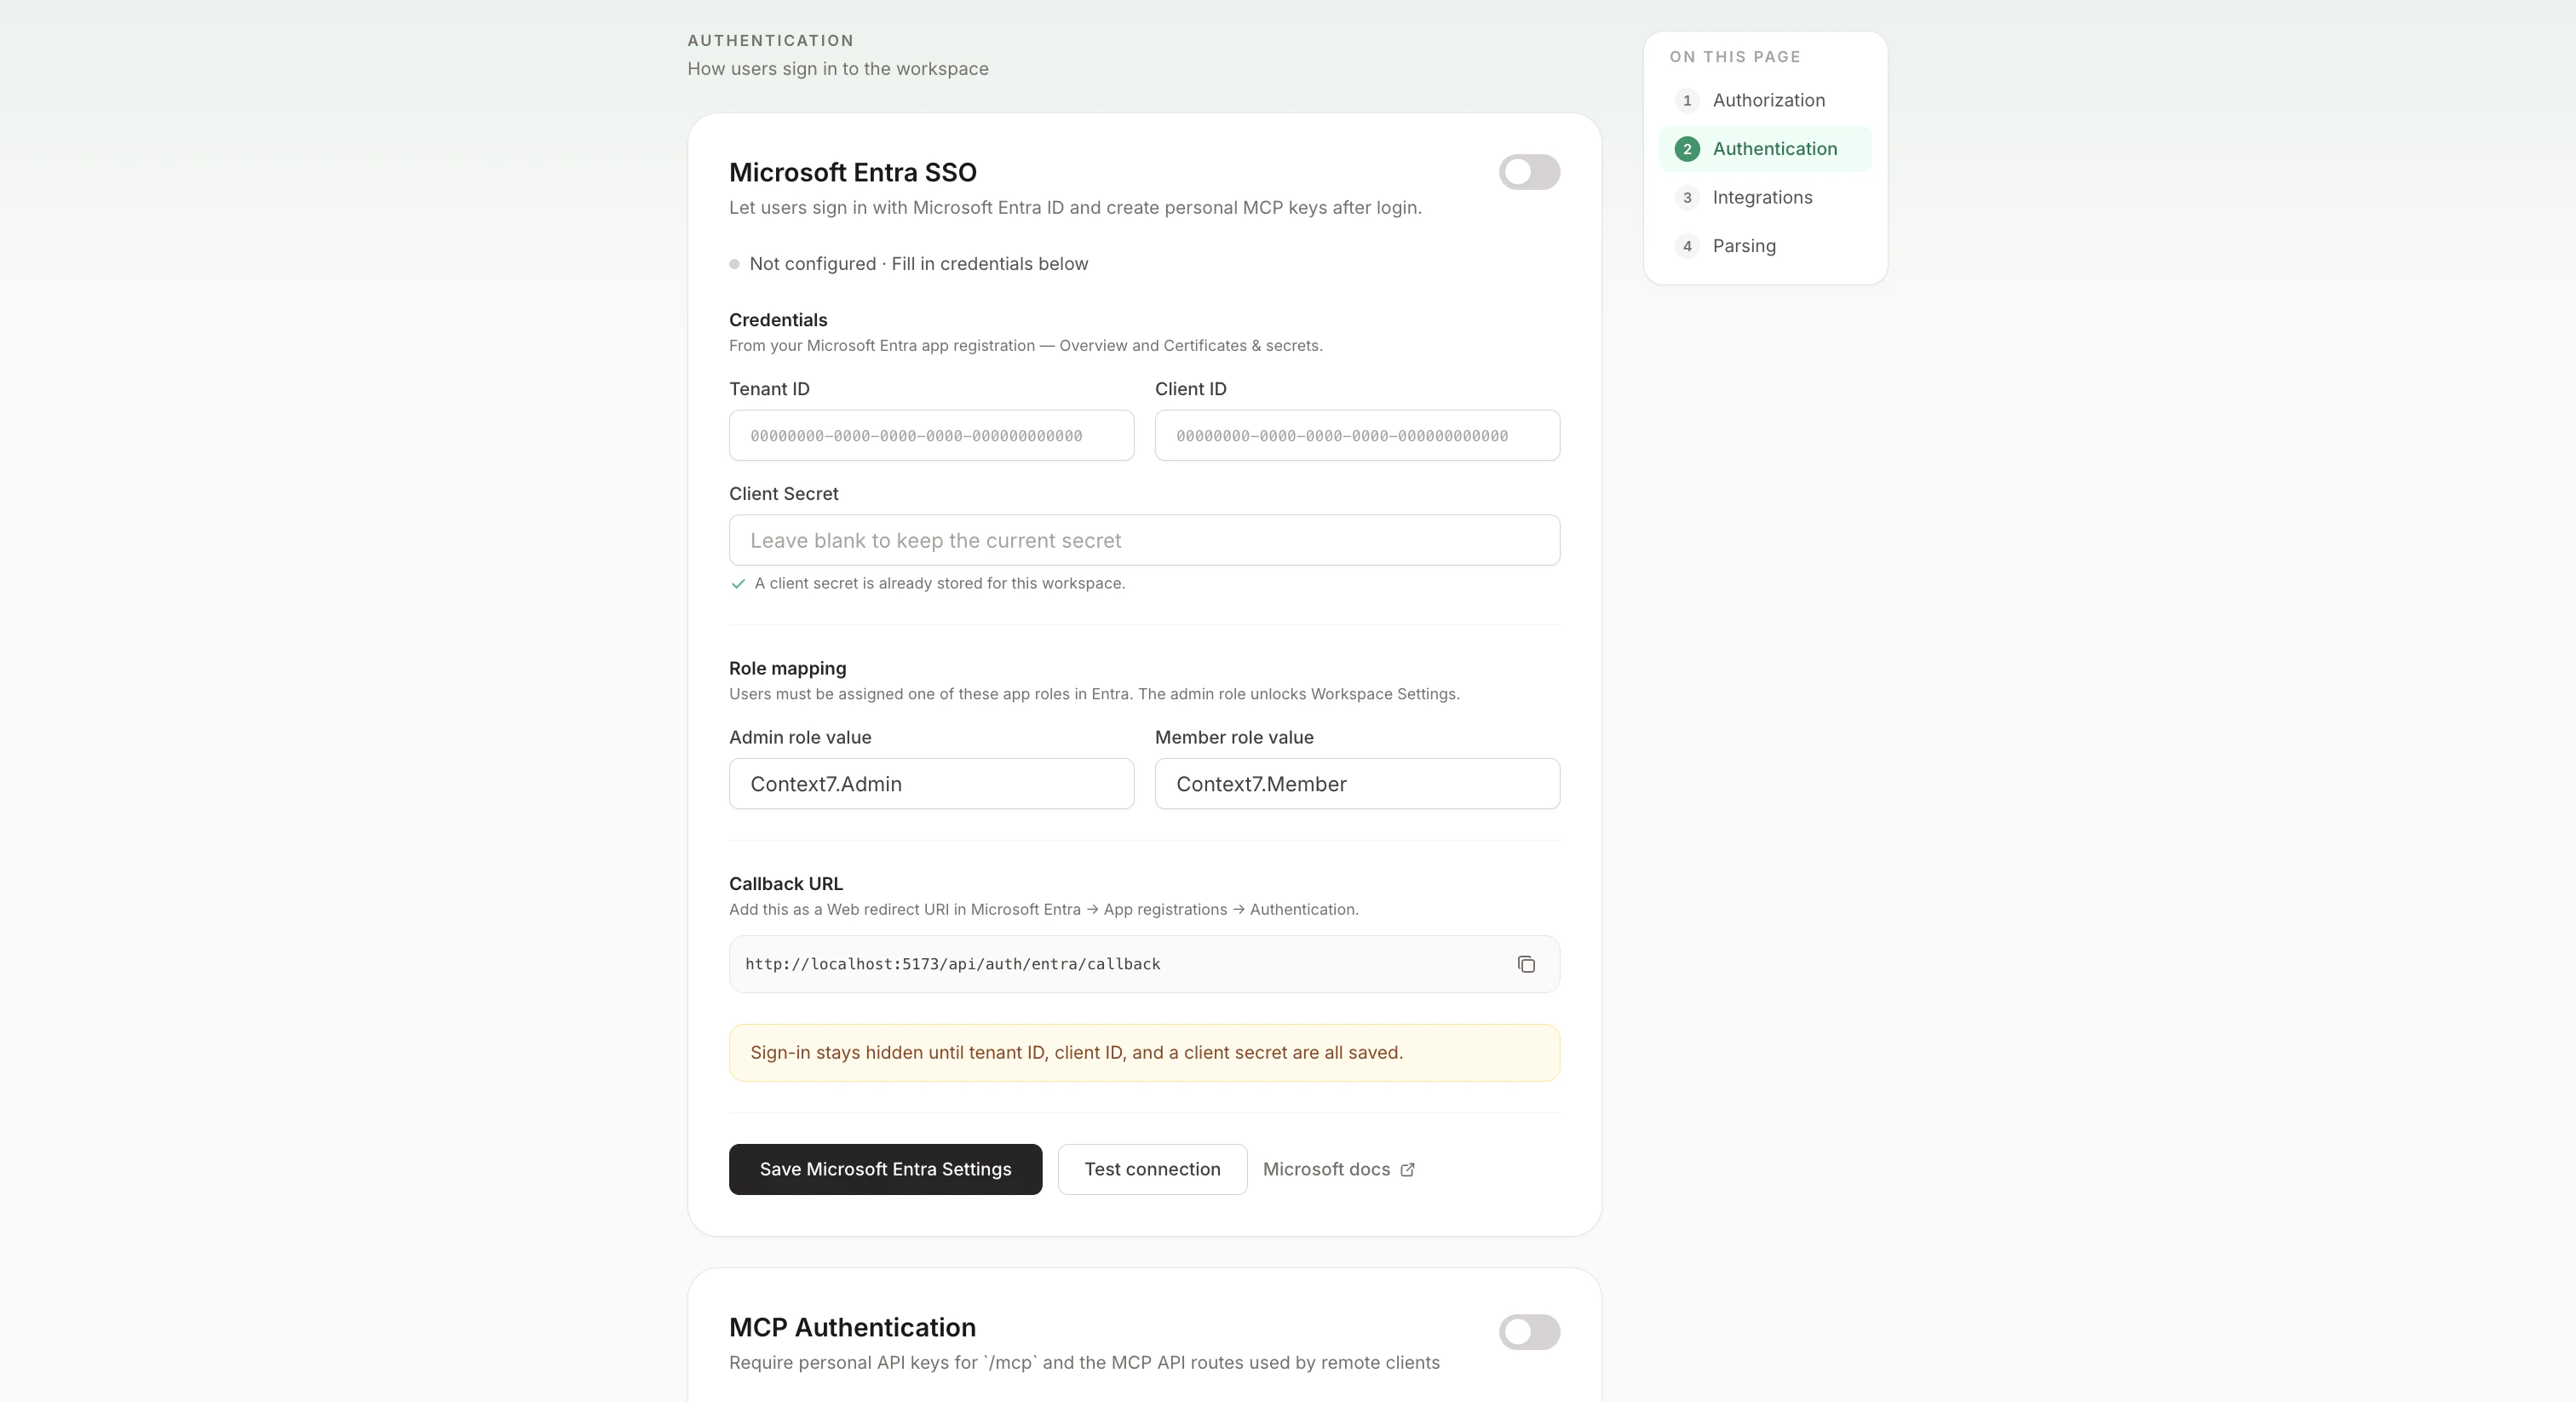
Step 2: Fill in the credentials
Paste the three values you copied from Azure into the form:- Tenant ID → the Directory (tenant) ID from the Azure Overview page
- Client ID → the Application (client) ID from the same page
- Client Secret → the secret Value from the Certificates & secrets page
Step 3: Test the connection
Before turning SSO on for your users, click Test connection. Context7 will make a server-to-server request to Microsoft using the credentials you entered. You’ll see one of three results:- Green banner: credentials are valid. You’re ready to flip the toggle on.
- “Tenant ID is invalid”: the Tenant ID doesn’t match an Entra directory. Double-check you haven’t pasted the Client ID into the Tenant field (an easy mistake, since both are GUIDs).
- “Client ID was not found in this tenant” or “Client secret is invalid”: recheck the values against the Azure Overview and Certificates & secrets pages. If the secret expired, generate a new one in Azure and paste the new value.
Step 4: Enable SSO
Once the test passes, click the toggle at the top-right of the card, then Save Microsoft Entra Settings at the bottom. The status indicator should read Configured · Sign-in button visible on /login.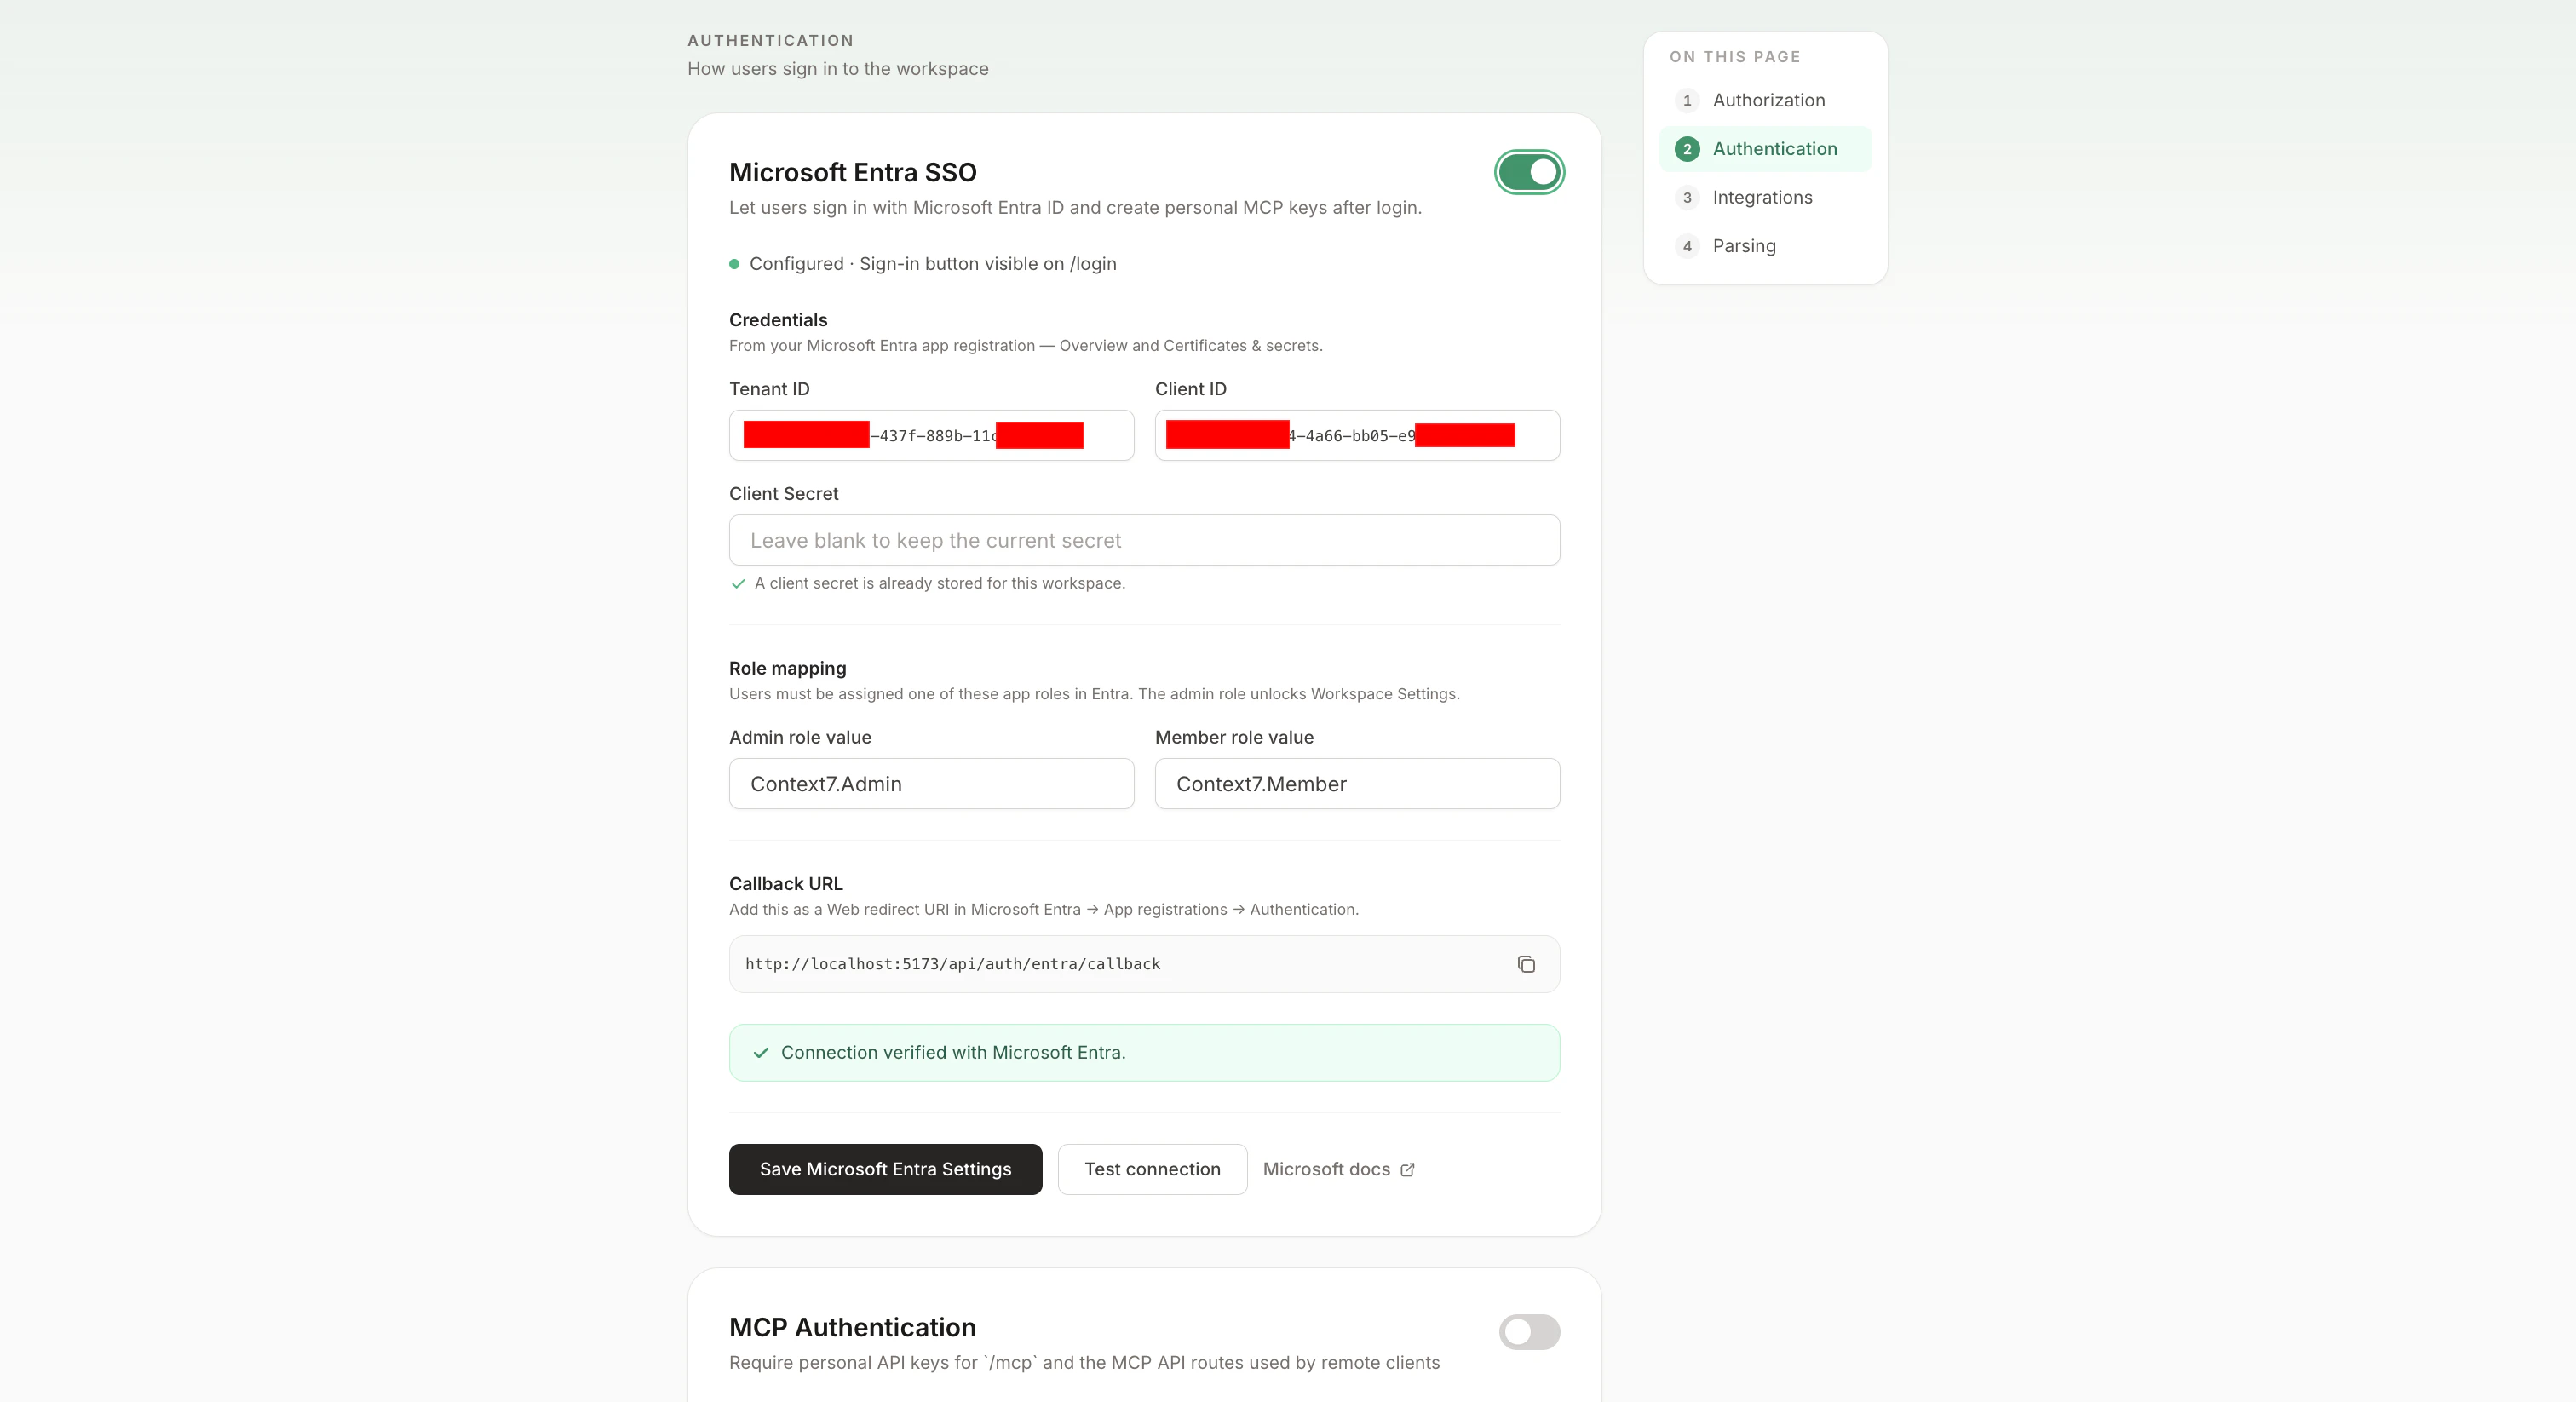
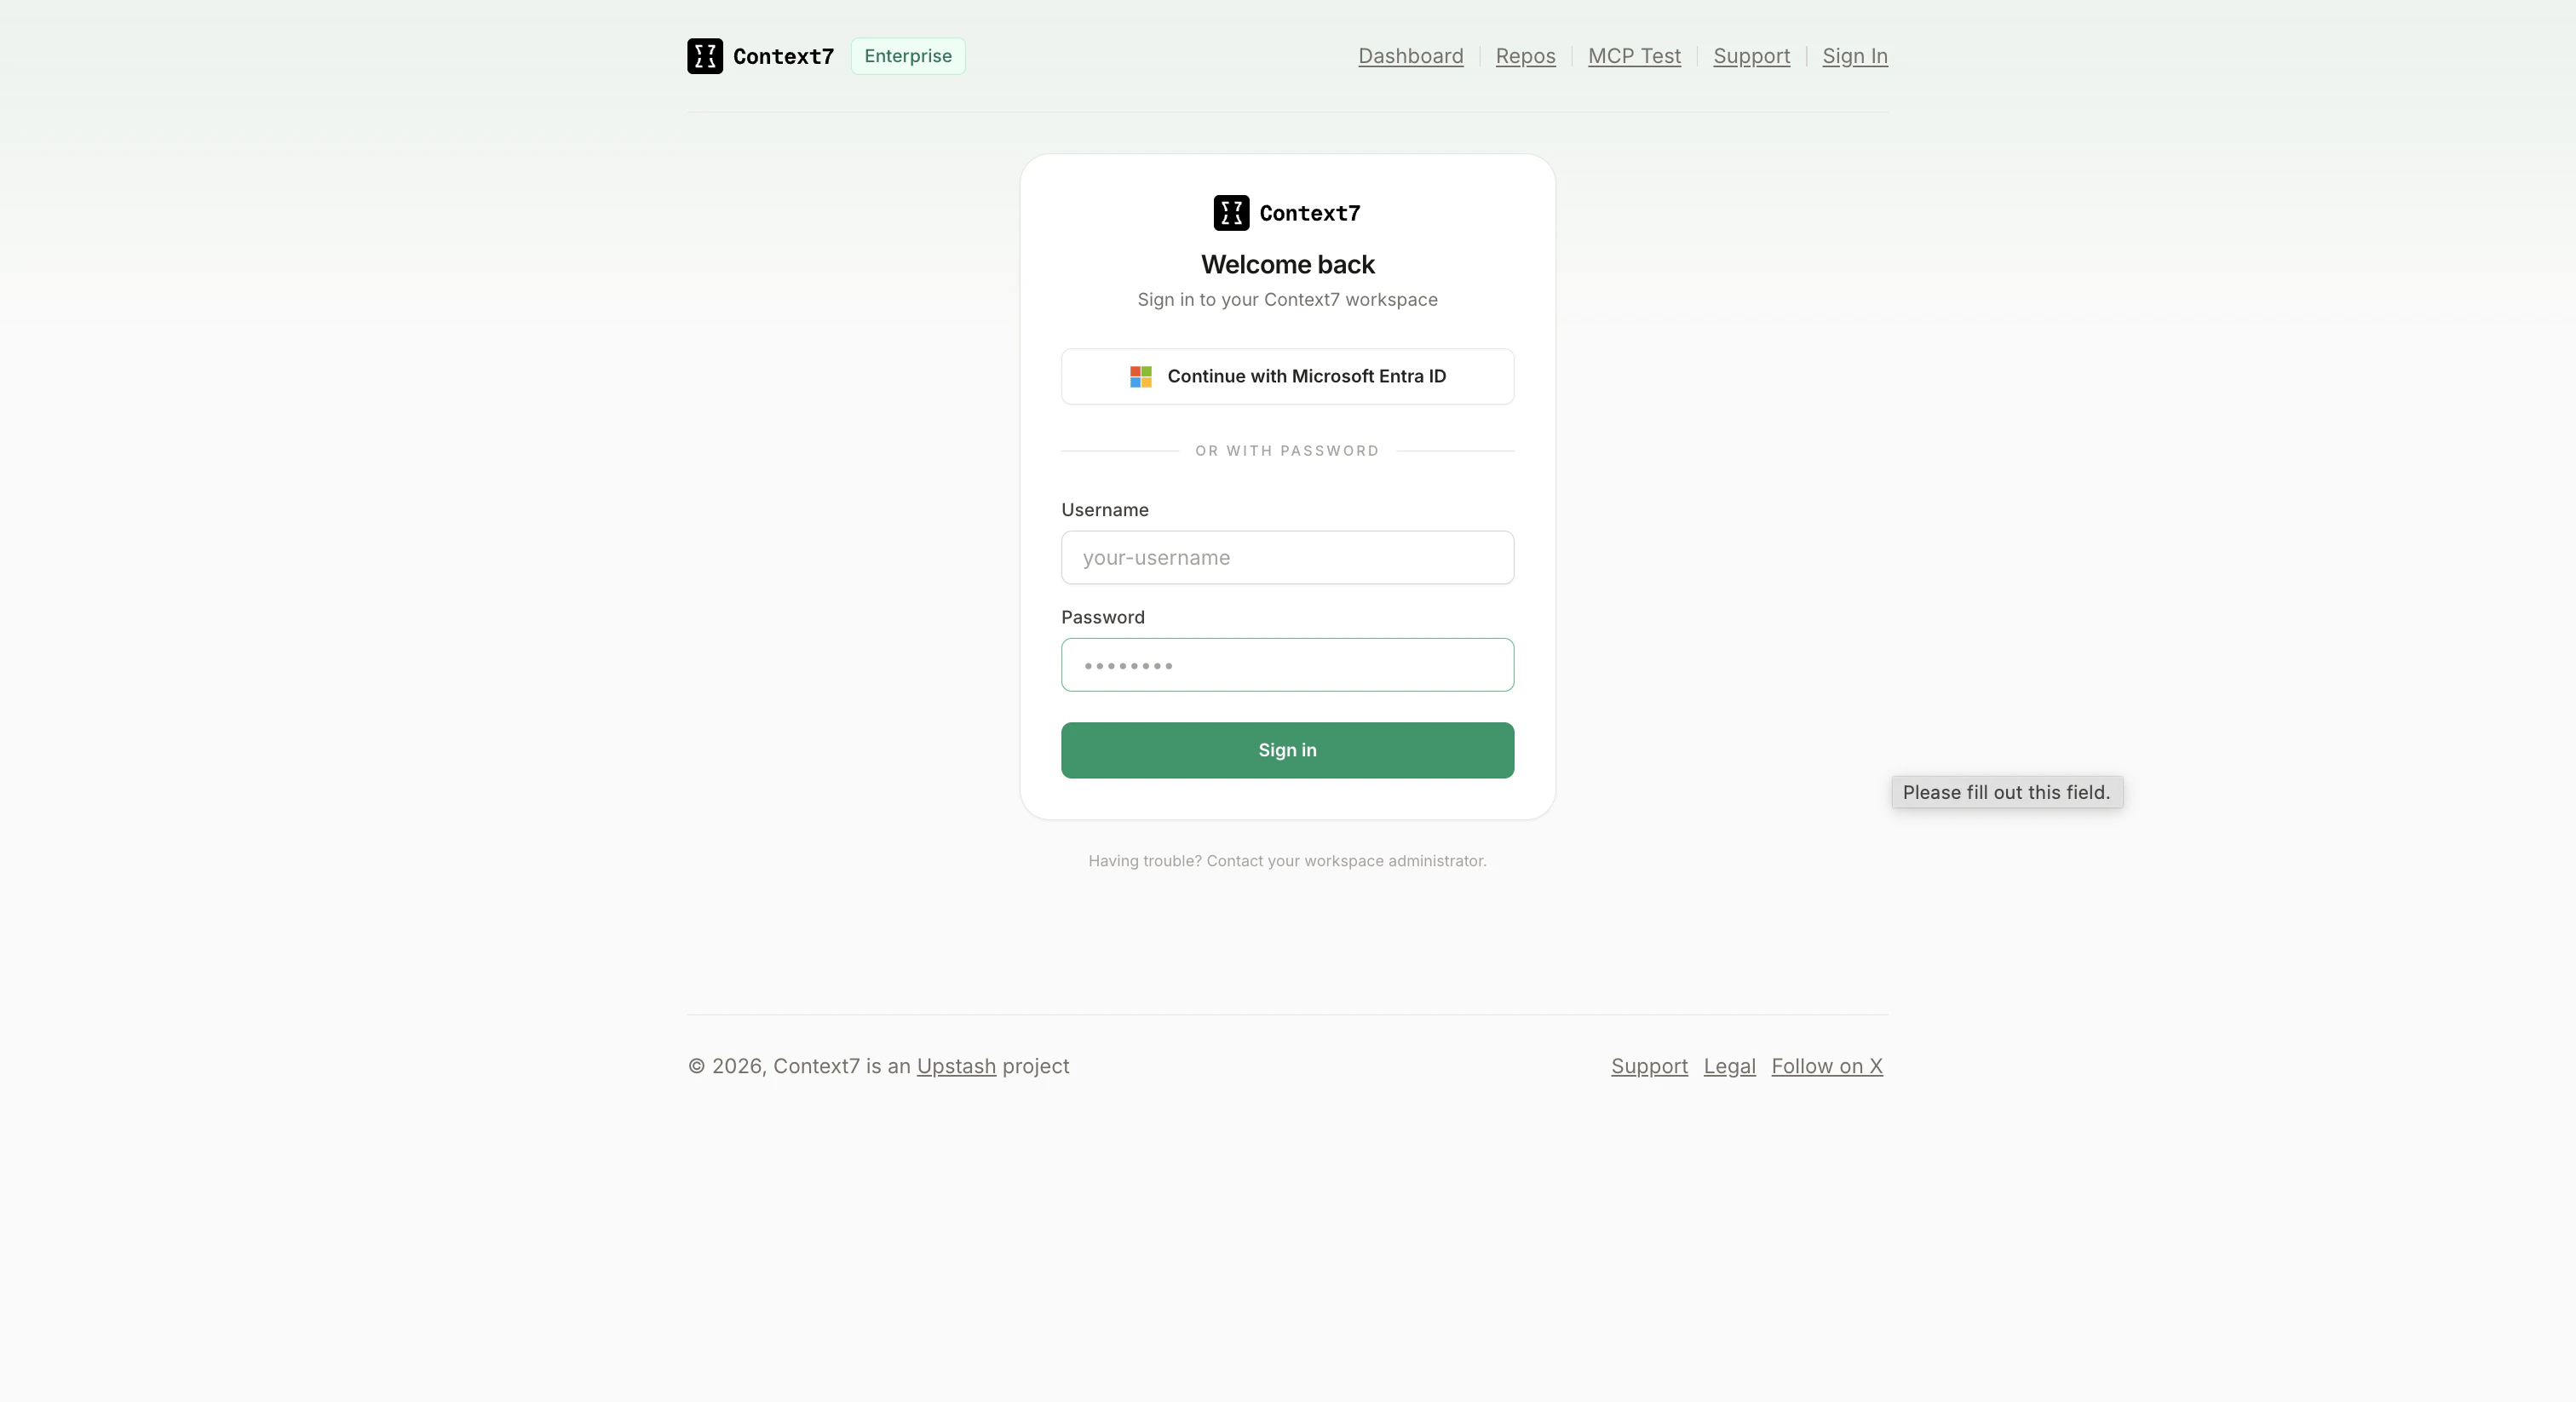
Part 3: Sign in
Open/login in a new browser tab. Incognito is handy here because it guarantees you aren’t reusing your existing admin session. You should see a Continue with Microsoft Entra ID button above the username/password form.
Managing roles after setup
Role assignments live entirely in Entra. To change someone’s access in Context7:- Promote a member to admin: in Entra, go to Enterprise applications → Context7 → Users and groups, remove their Member role, add the Admin role, and ask them to sign out and back in.
- Revoke access: remove the user from Users and groups in Entra. Existing browser sessions remain valid until they expire or sign out. If you need to cut them off immediately, restart Context7 (in-memory sessions are cleared on restart) or have an admin explicitly delete their user row from the teamspace.
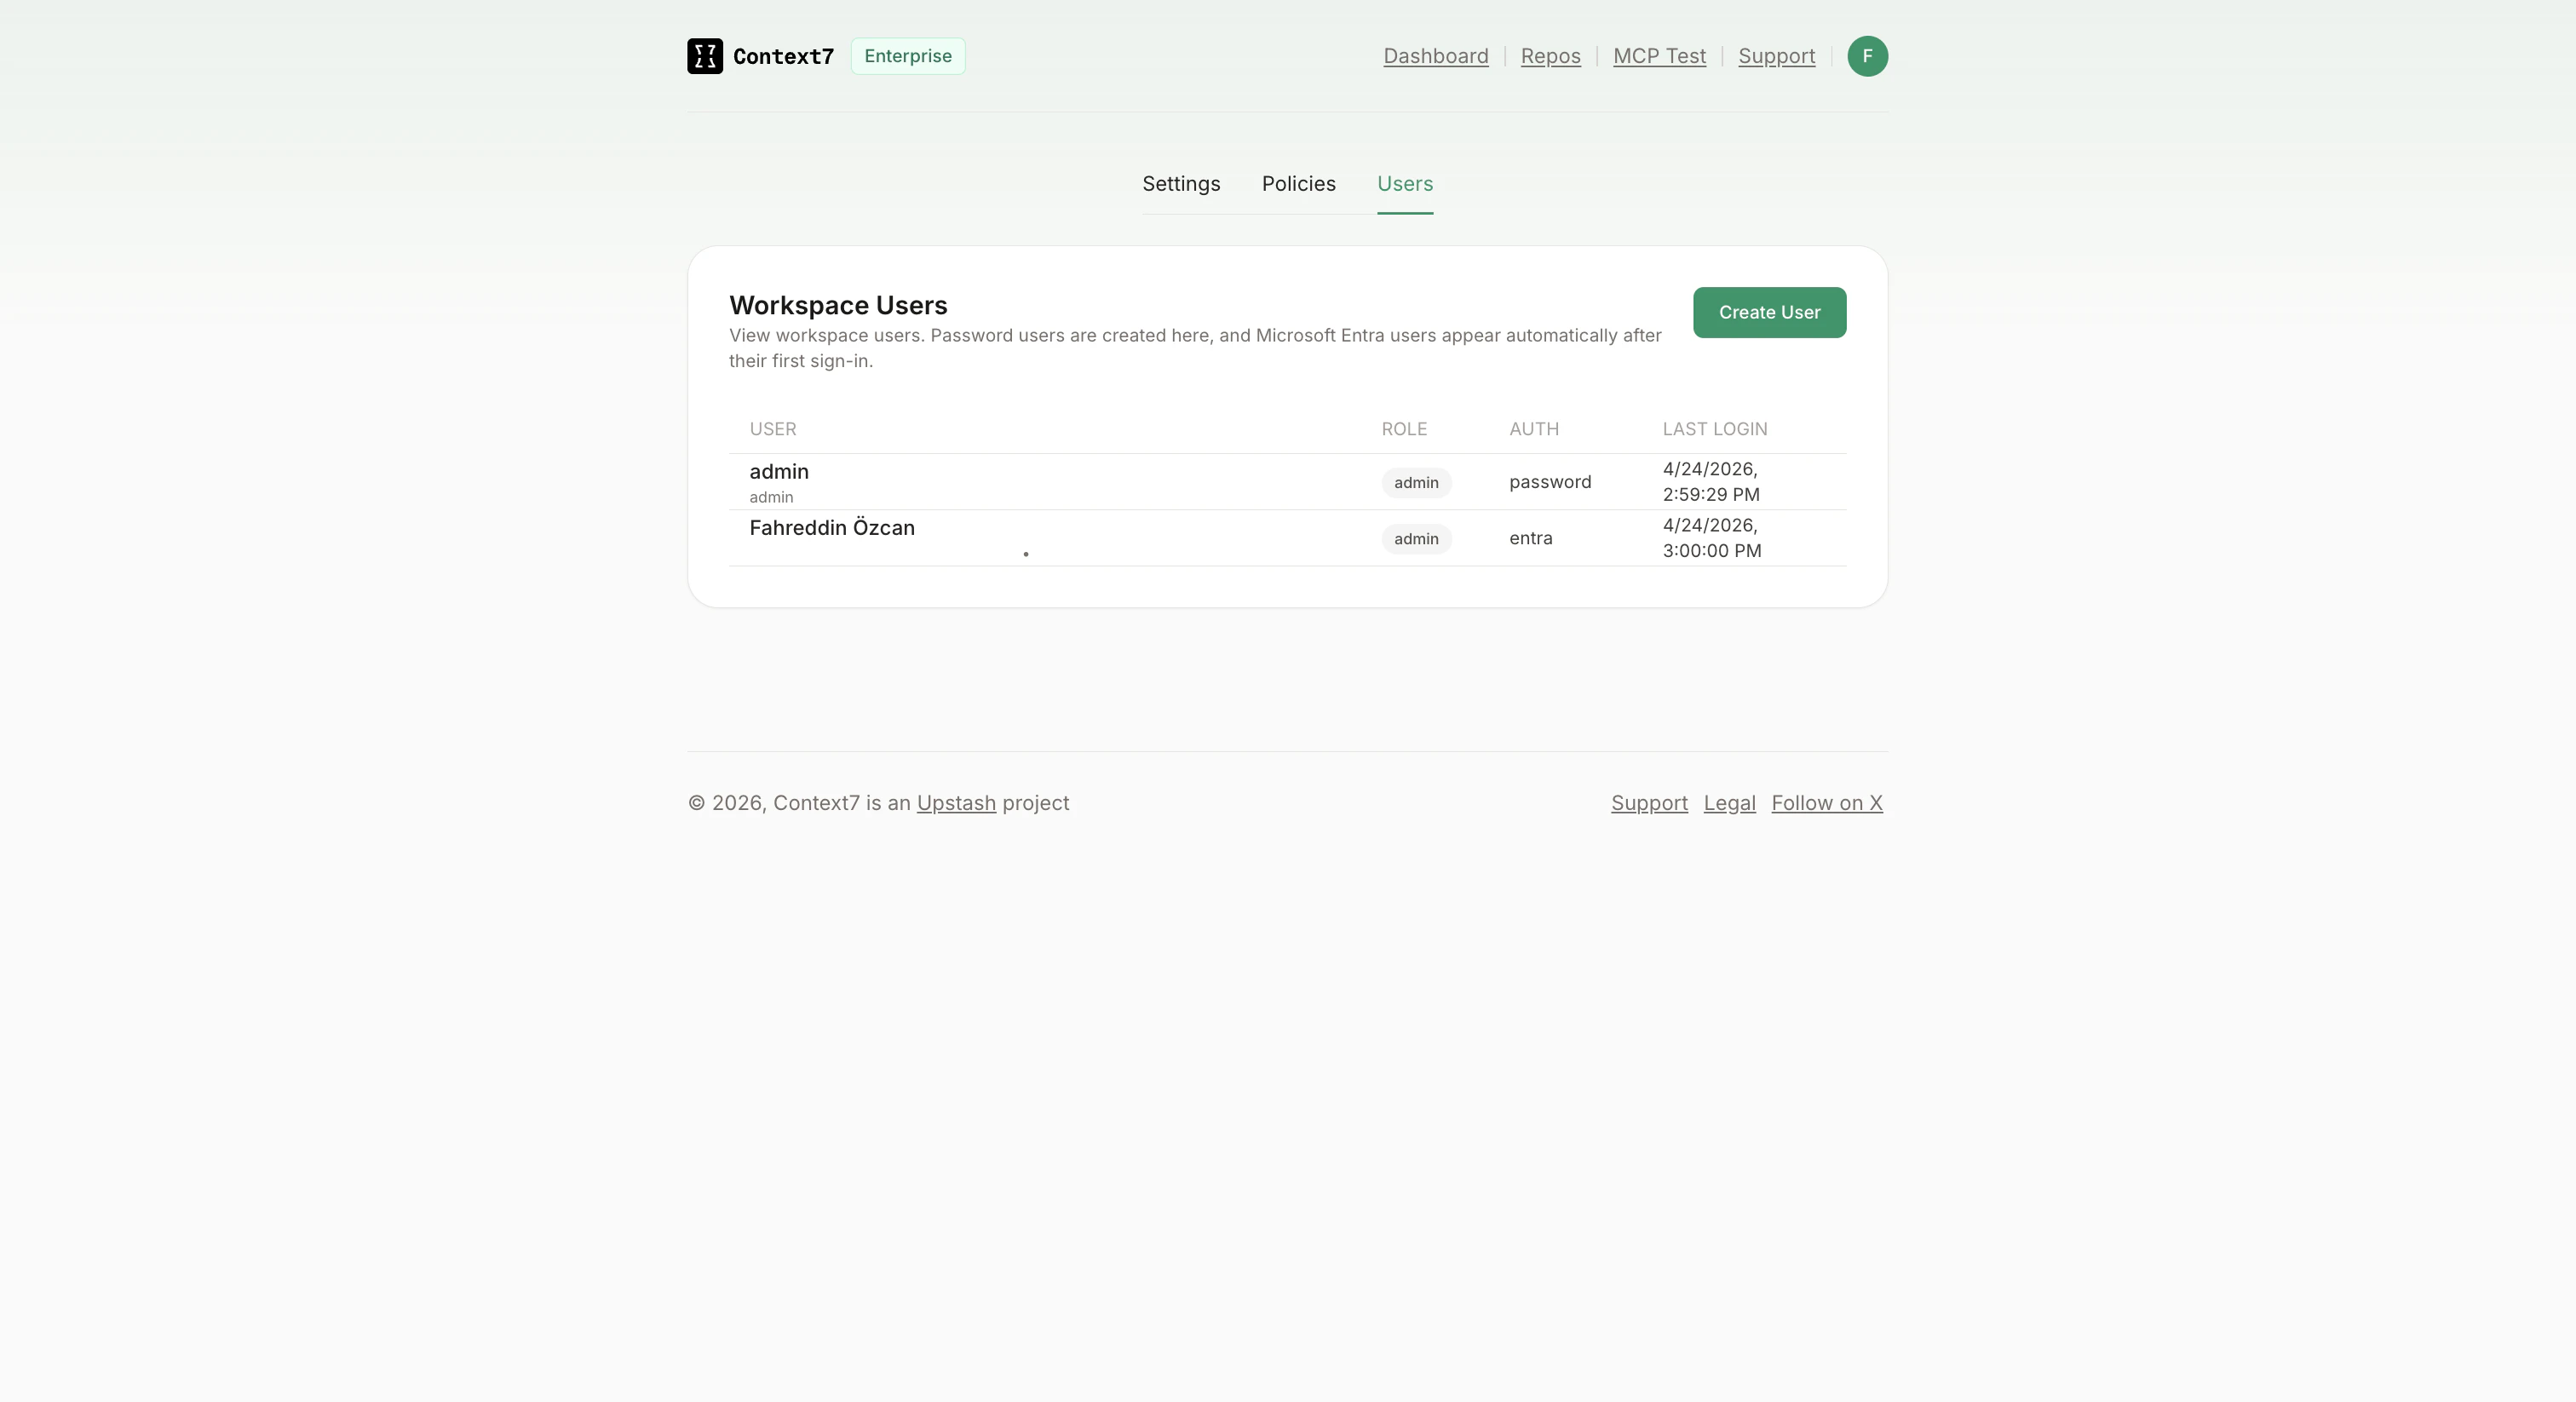
- Audit who signed in recently: Teamspace Settings → Users shows every Context7 user with their auth provider and last-login timestamp.
Troubleshooting
AADSTS50011: redirect URI mismatch
The redirect URI Context7 sent doesn’t match any redirect URI registered on the Azure app. Open the app in Azure → Authentication and compare the list against the Callback URL shown on the Context7 SSO card. Check especially:
http://vshttps://must match exactly.- Port number: if you’re running Context7 on a non-standard port, the Entra registration needs the same port.
- Path: must be
/api/auth/entra/callbackwith no trailing characters.
Host header unchanged; otherwise Context7 will build a callback URL for the internal host, not the public one your users see.
”This Microsoft Entra account is not assigned a supported Context7 app role”
The user completed Microsoft sign-in but doesn’t have either the Admin or Member app role assigned. Open Enterprise applications → Context7 → Users and groups, and verify they’re listed with a role. If they are, confirm the role Value in the app registration matches the Admin role value / Member role value you entered in Context7 (they’re case-sensitive).”Microsoft sign-in session expired”
This means the short-lived cookie Context7 uses to track the in-flight sign-in request was dropped or didn’t come back. Most common causes:- The user started sign-in on one host (for example
localhost:3000) and came back on a different one (localhost:5173). Stick to one host for the whole flow. - A browser extension or strict privacy setting is blocking cookies.
The Entra button doesn’t appear on /login
The card’s status indicator tells you why:
- Not configured: tenant ID, client ID, or client secret is missing. Fill them in and save.
- Configured · Toggle on to show the sign-in button: credentials are saved but the feature is off. Flip the toggle at the top of the card.
Client secret expired
Entra rejects the test with"Client secret has expired" once the secret passes its expiry date. In Azure → Certificates & secrets, create a new secret and paste the new Value into the Context7 card. Then click Test connection to verify, and Save.
What this does not cover
A few things that are out of scope for SSO itself but often come up when rolling it out:- Personal MCP API keys. Once a user signs in via Entra, they can create their own MCP API keys from Personal Settings → API Keys. Those are separate from SSO and covered in the main On-Premise guide.
- Group-based role mapping. Context7 reads app roles, not group membership. If your team assigns access via Entra security groups, add the group to Users and groups with one of the two Context7 roles.
- SCIM provisioning. Users are created lazily on first sign-in. There’s no background sync pulling the whole directory.